Requirements
- Admin permissions A user with Admin permissions is required in order to deploy the stack and create the resources described below. Resources used are subject to change in the future, which is why we currently recommend Admin permissions (and an isolated AWS account, mentioned below).
- Dedicated AWS Account We recommend deploying the Platform in an isolated AWS account. This reduces the risk of errors, such as hitting AWS service resource limits, and overall makes things simpler to manage.
Setup
To deploy the Stack, press one of the following region-specific deploy buttons, and click through the AWS web GUI console.us-east-1
N. Virginia
us-east-2
Ohio
us-west-1
N. California
us-west-2
Oregon
eu-west-1
Ireland
eu-west-2
London
eu-central-1
Frankfurt
ap-southeast-2
Sydney
Creating a Valid Certificate
This is the recommended approach. It will require validating a domain of your setup to emit a valid certificate that could be used in this setup.- Go to the ACM console of the region
- Click on Request a certificate
- Click Next to Request a Public Certificate
- Choose your domain and validation Method and click on Request


- Use the certificate ARN in the
AwsCertificateArnparameter when deploying the stack.
DNS Configuration
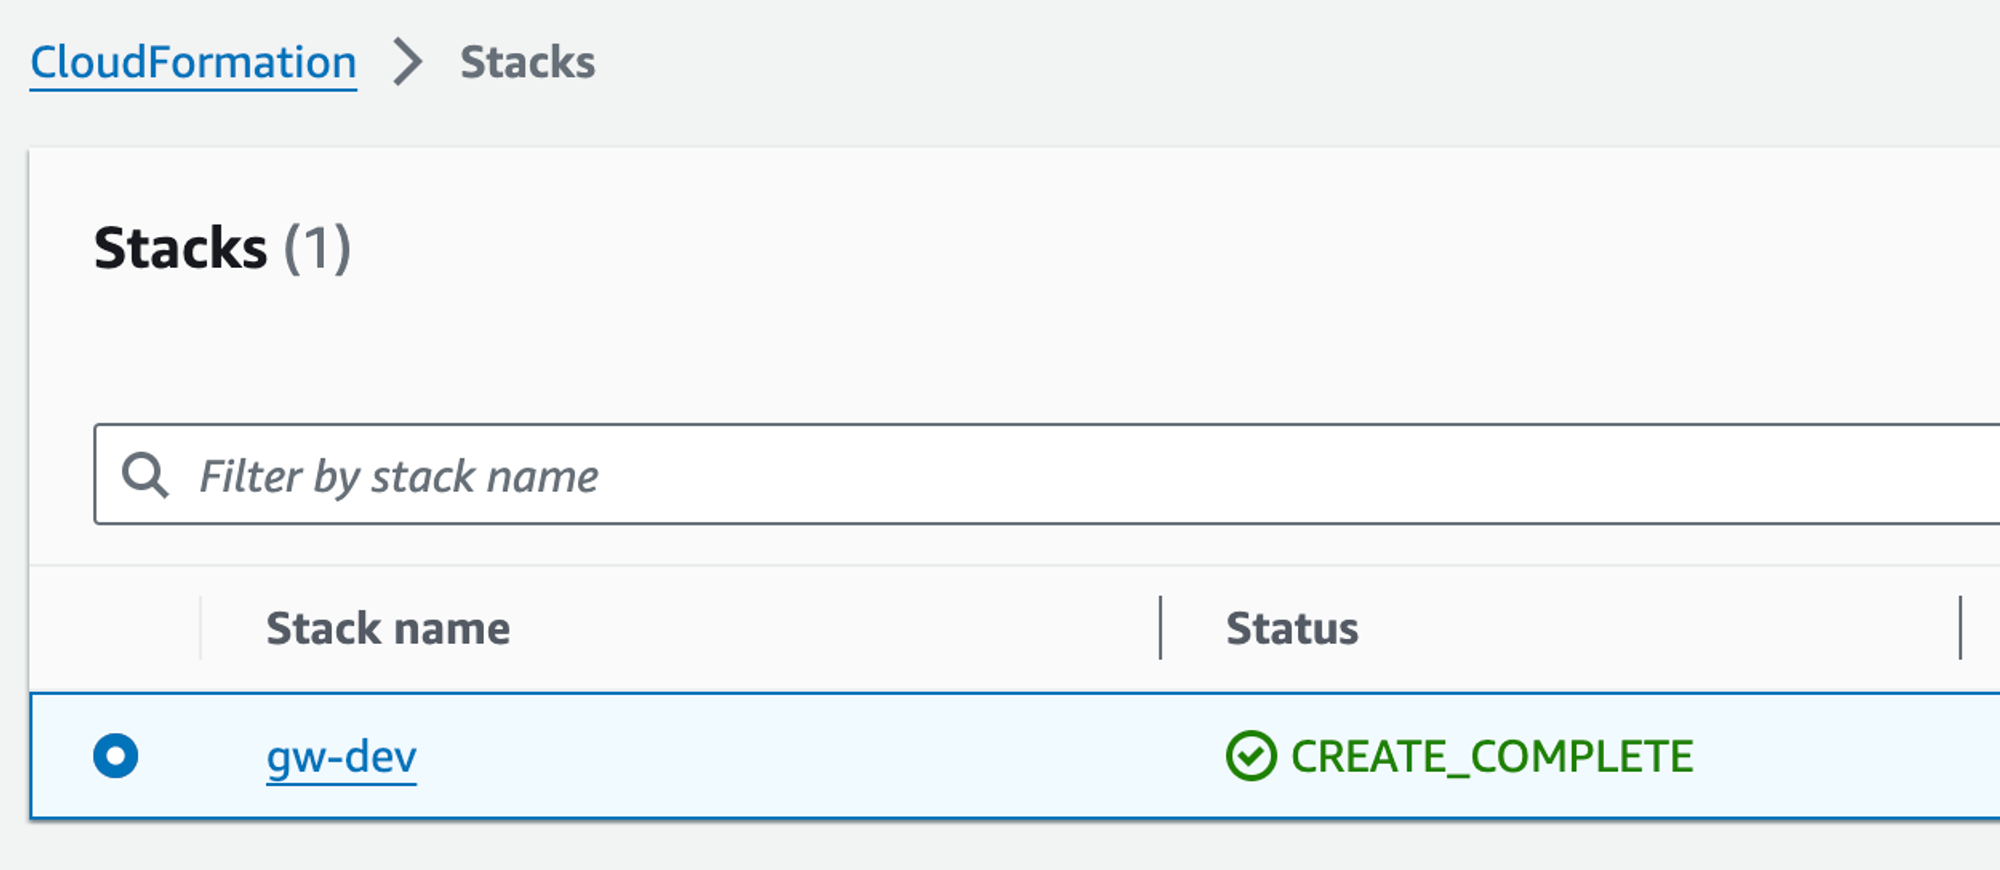
- Once the deployment has completed (you should see “CREATE_COMPLETE” on all items under “Stacks”), click on the stack.
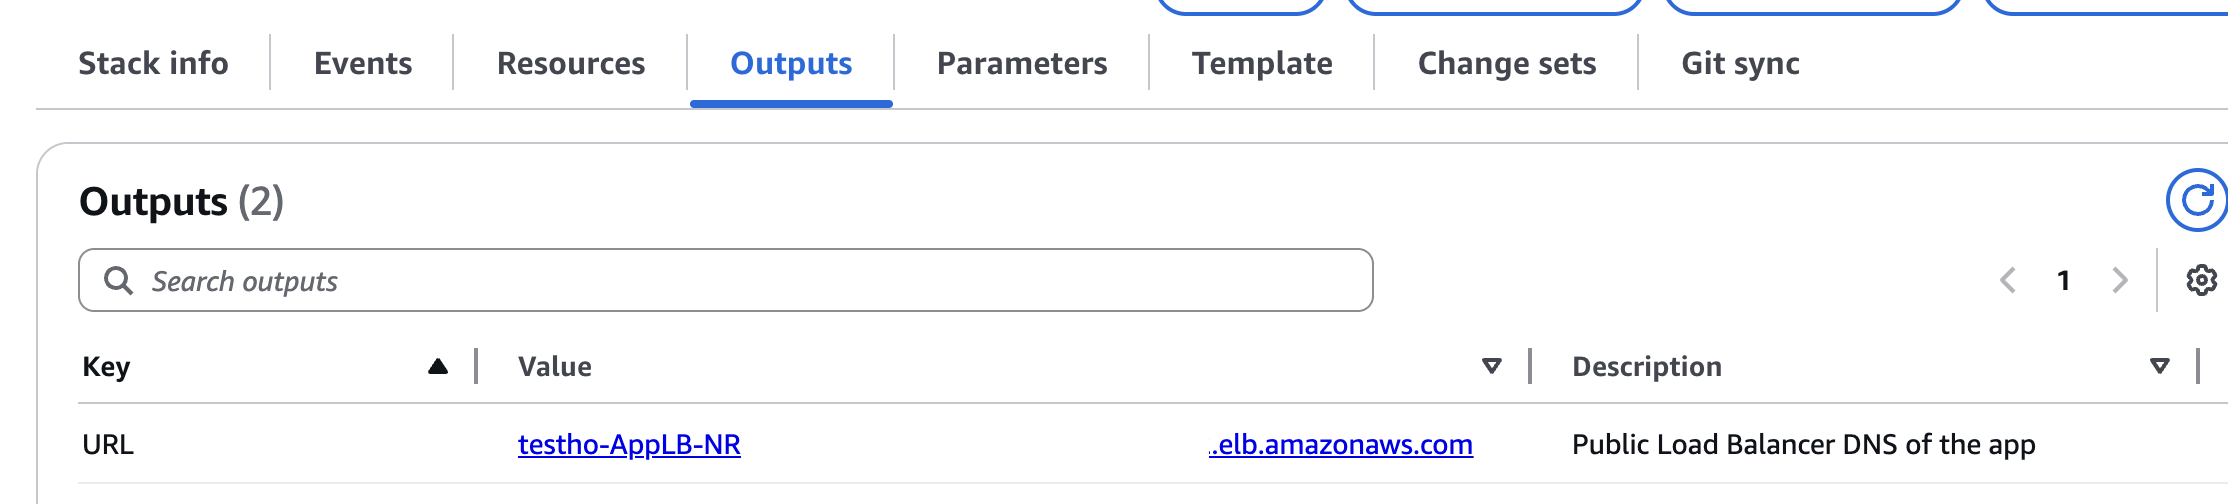
- Click on the Outputs tab and copy the load balancer address value. Use this value to create a CNAME record in your DNS management service pointing to the domain specified in your certificate.
Setup Your First User
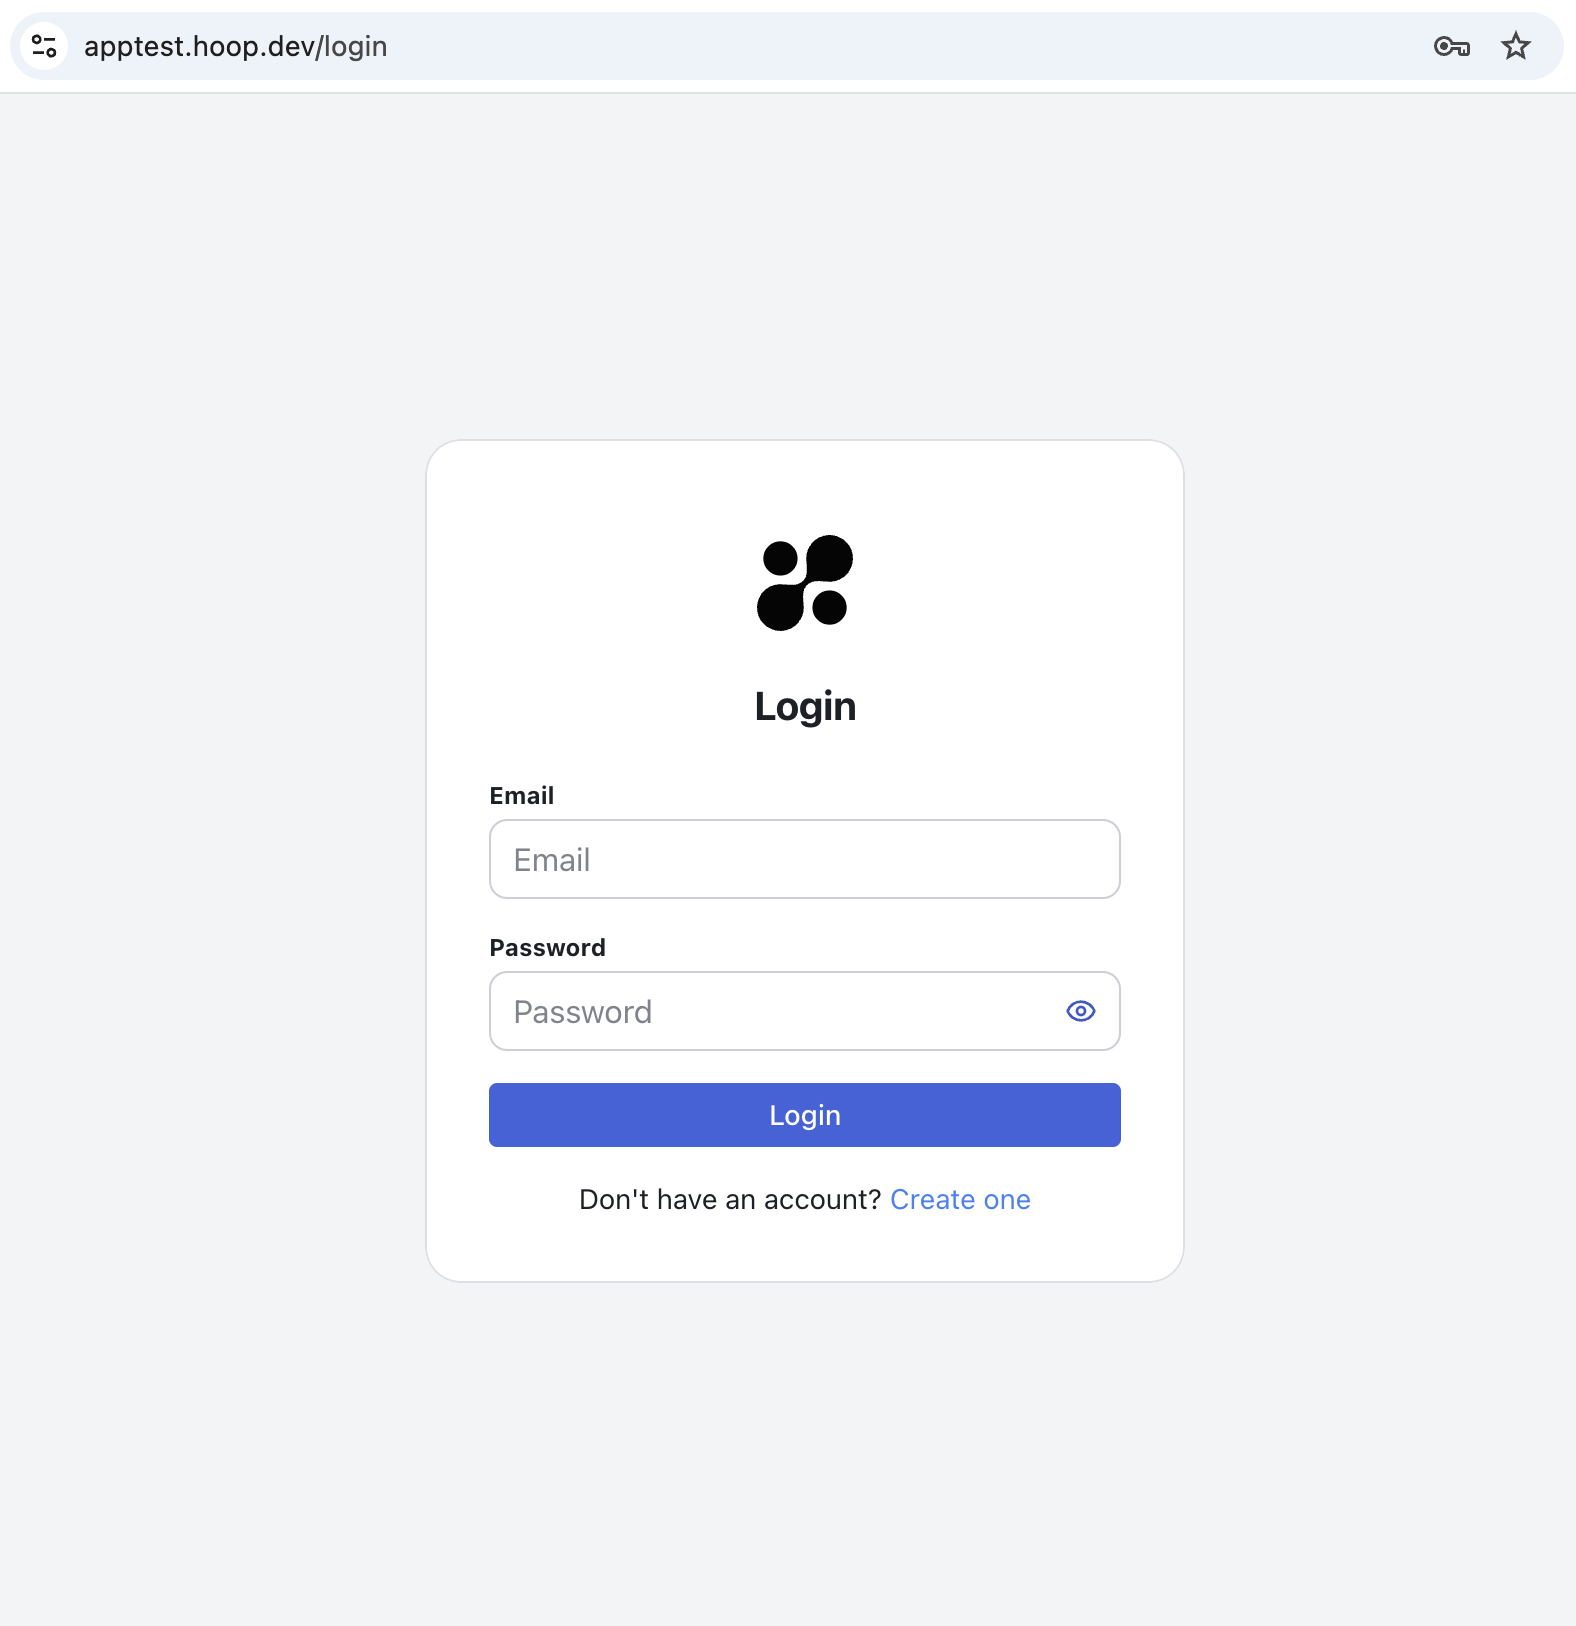
After the deployment is complete, you can access the Hoop Platform using the DNS address specified in theAppPublicDNS parameter.
- Open your browser and visit the public DNS link provided in the parameter AppPublicDNS:
https://yourdomain.tld
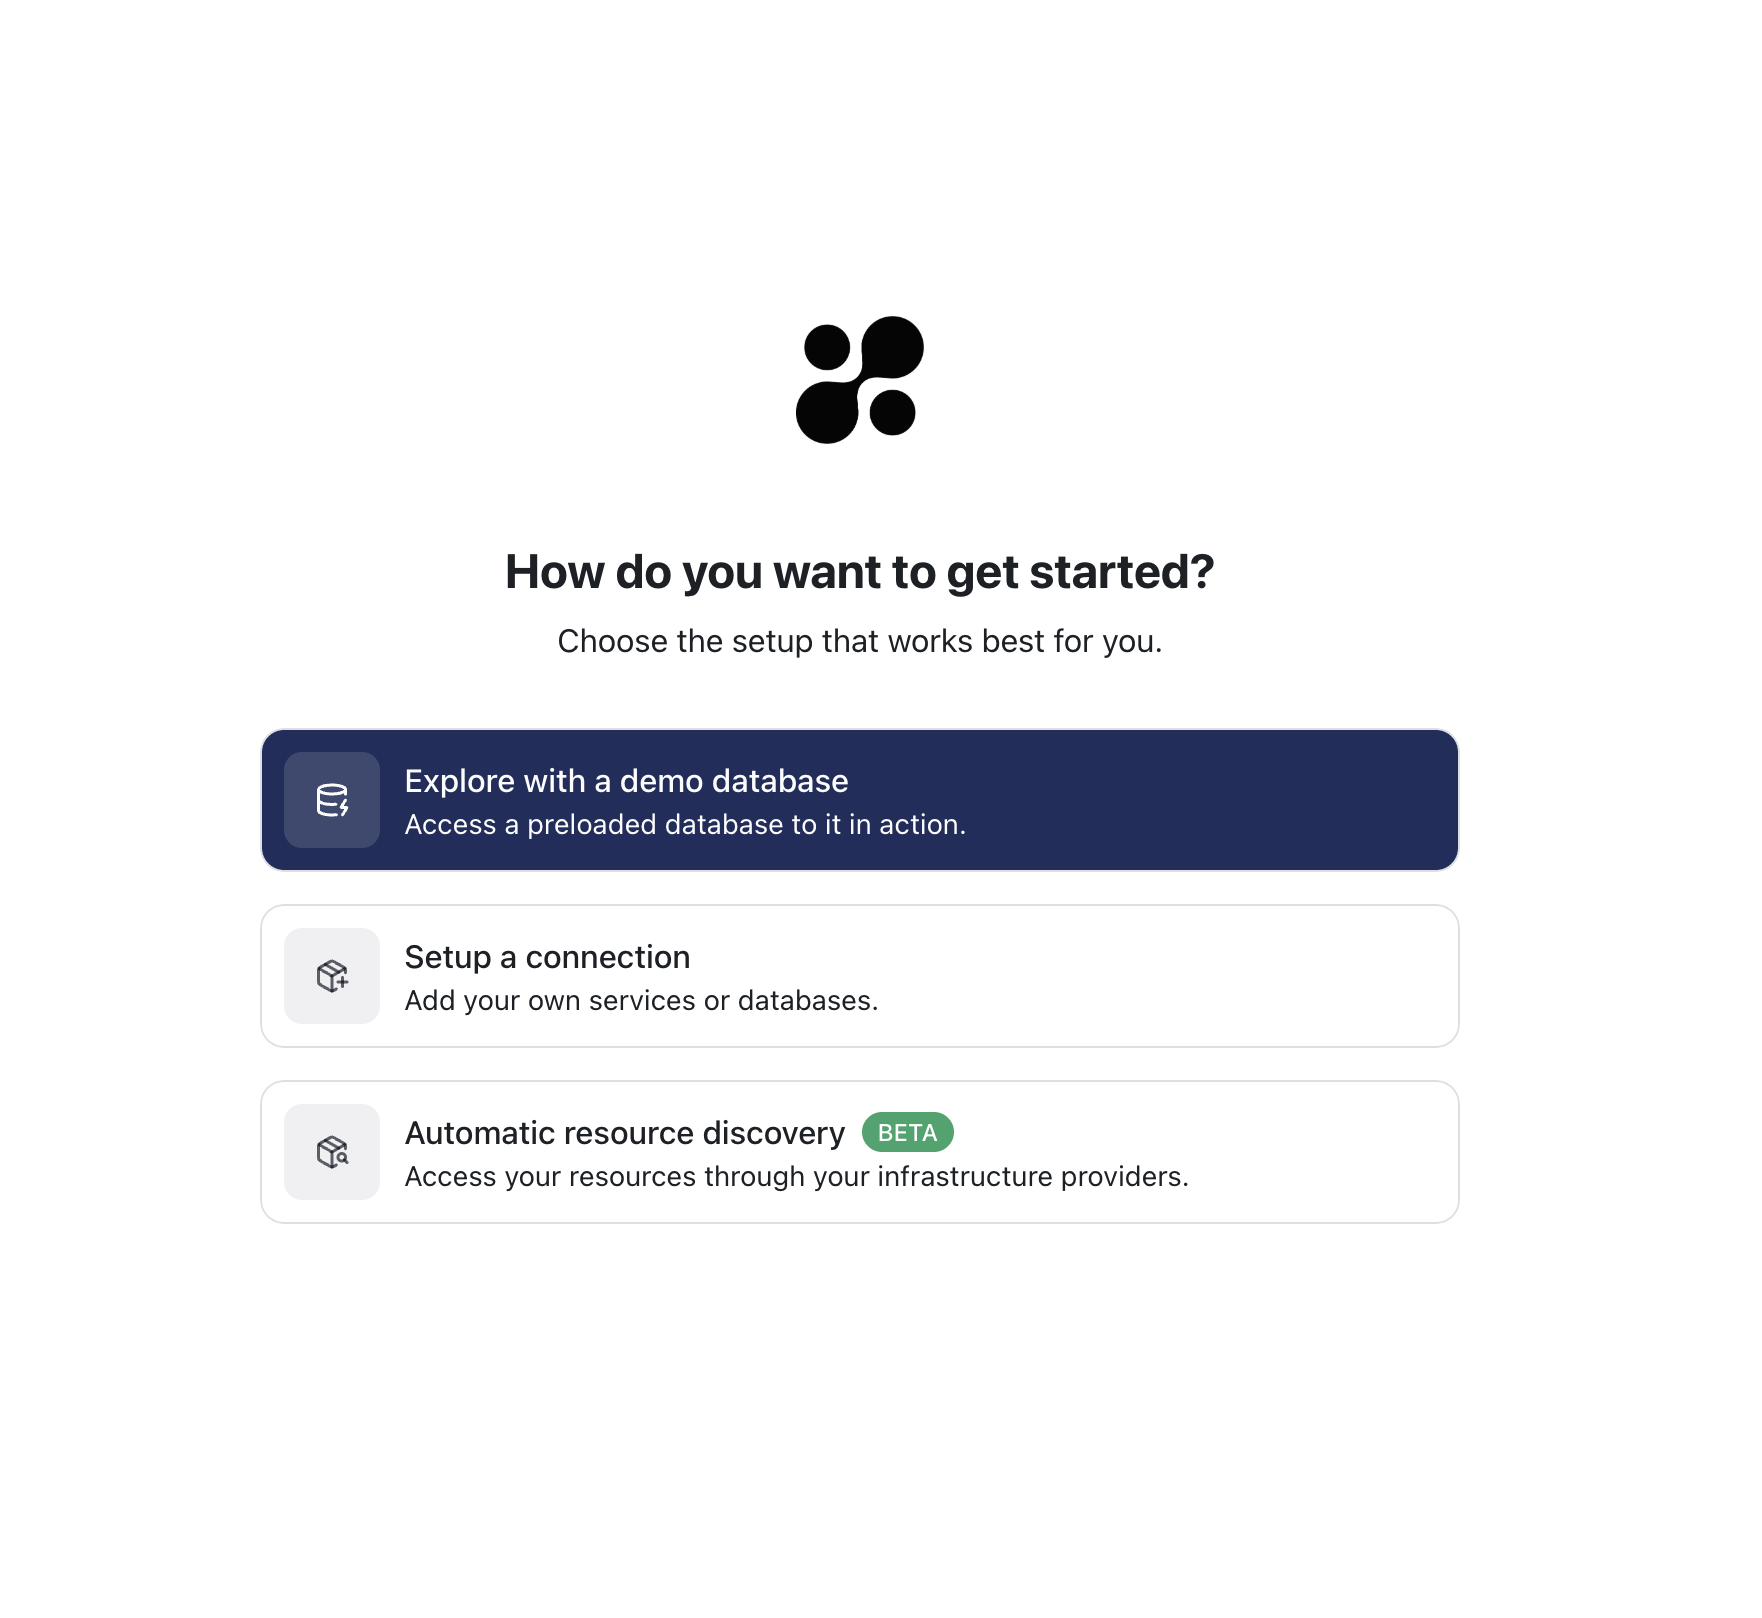
- You’ll be redirected to the main screen, select “Explore with a demo database” to create demo Postgres database and start using the platform.
Resources deployed
- Virtual Private Cloud (VPC)
- Two Public Subnets
- Two Private Subnets (with NAT Gateways)
- Two Isolated Subnets
- RDS Postgres Database
- Auto Scaling Group with EC2 Instances
- Secrets Manager secrets for Postgres Password and access credentials
- Application Load Balancer
- Security Groups to restrict access to the infrastructure (only port 443 and 8443 to the Load Balancer, no access to the RDS databases, etc.)
Custom Identity provider
It’s possible to bring your own identity provider to authenticate your users with Hoop. A custom identity provider can be specified in the Server Settings page. Refer to our SSO documentation for more details.How to update
You’ll need to update if you want to keep your installation in sync with the latest releases. Make sure to see exactly the changes on our release page to plan the updates carefully.- Go to CloudFormation > Select the installed stack > Click on Update

-
Choose Replace Existing Template and enter the URL below, which corresponds to your deployment region:
- us-east-1 https://hoopdev-platform-cf-us-east-1.s3.us-east-1.amazonaws.com/latest/hoopdev-platform.template.yaml
- us-east-2 https://hoopdev-platform-cf-us-east-2.s3.us-east-2.amazonaws.com/latest/hoopdev-platform.template.yaml
- us-west-1 https://hoopdev-platform-cf-us-west-1.s3.us-west-1.amazonaws.com/latest/hoopdev-platform.template.yaml
- us-west-2 https://hoopdev-platform-cf-us-west-2.s3.us-west-2.amazonaws.com/latest/hoopdev-platform.template.yaml
- eu-west-1 https://hoopdev-platform-cf-eu-west-1.s3.eu-west-1.amazonaws.com/latest/hoopdev-platform.template.yaml
- eu-west-2 https://hoopdev-platform-cf-eu-west-2.s3.eu-west-2.amazonaws.com/latest/hoopdev-platform.template.yaml
- eu-central-1 https://hoopdev-platform-cf-eu-central-1.s3.eu-central-1.amazonaws.com/latest/hoopdev-platform.template.yaml
- ap-southeast-2 https://hoopdev-platform-cf-ap-southeast-2.s3.ap-southeast-2.amazonaws.com/latest/hoopdev-platform.template.yaml
- Double-check that the URL pasted into shows the same region as the AWS console highlights when you click on the region in the upper right. E.g., if “Virginia” is shown and the drop-down highlights us-east-1, then us-east-1 should appear as the URL (three times).
-
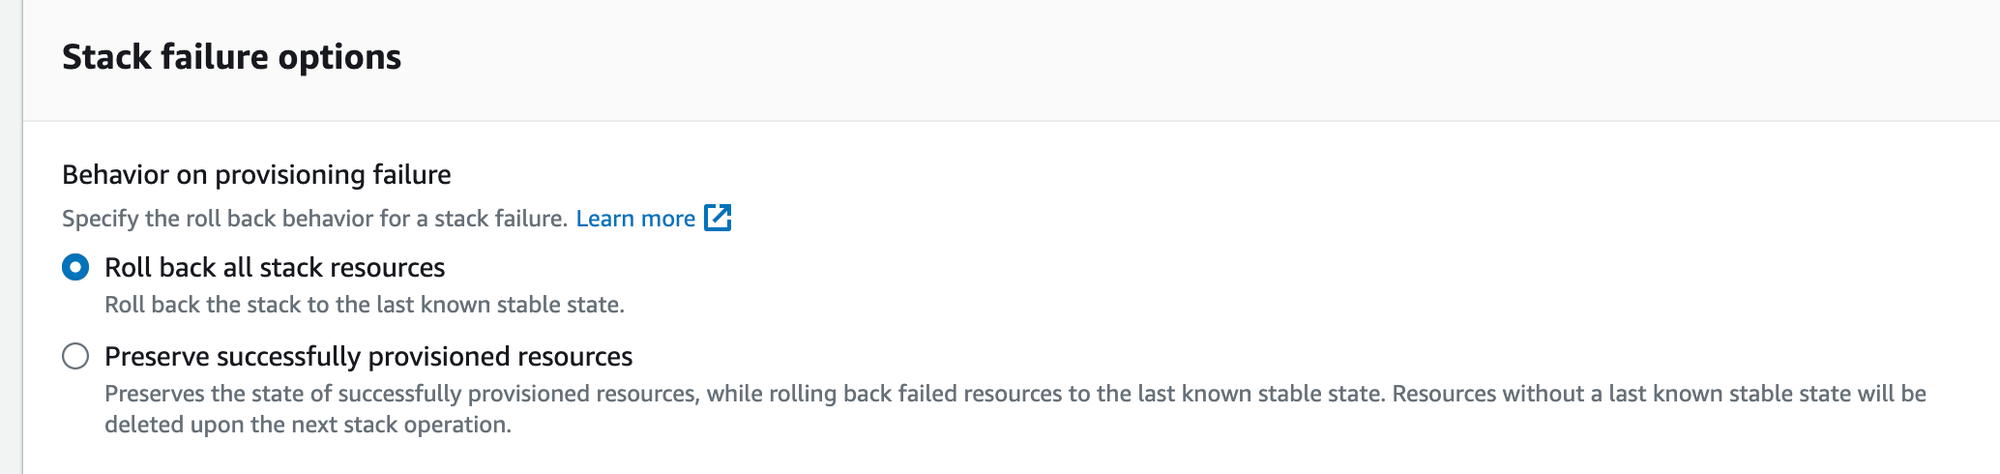
Ensure that “Stack failure options” is set to “Roll back all stack resources” and select Next.
- If deployment issues arise, we may ask you to change this, but if set to preserve, CF will refuse to deploy certain types of changes.
-
Check both of the boxes around permissions at the bottom and select Update Stack.
- You don’t need to wait for the change set to load.
-
Occasionally monitor the status of the deployment — some updates can take hours, others just minutes.
- If the stack update does fail please take a screenshot of the failure under “Events” in the stack. If it says that a nested stack failed to deploy, include a screenshot of the “Events” in the failed nested stack. We apologize for the issue! CloudFormation is a very sensitive and particular system, as well as being subject to transient issues from an array of AWS services.