Prerequisites
- Have properly installed hoop.dev through one of the options available in the deployment overview
- Be on an enterprise plan
- Enough access to your infrastructure so you can load environment variables to your hoop.dev instance
- Have admin access to your hoop.dev instance
This page is dedicated to the setup of AI Data Masking in self-hosted instances. If you are looking for the Learn Guides of AI Data Masking, click here.
Setup
This service currently supports Microsoft Presidio for data classification and PII detection. Google Cloud Data Loss Prevention (DLP) is still available for existing customers but is deprecated for new installations.You must be on an enterprise plan to have access to the AI Data Masking feature.
Microsoft Presidio
Install
Check the Microsoft Presidio documentation to install it.
Set up
Set the new environment variables in hoop.dev’s Gateway with the following values:
| Environment variable key | Value |
|---|---|
DLP_PROVIDER | mspresidio |
DLP_MODE | best-effort or strict |
MSPRESIDIO_ANALYZER_URL | <host-to-analyzer:port> |
MSPRESIDIO_ANONYMIZER_URL | <host-to-anonymizer:port> |
Google Cloud Data Loss Prevention (DLP)
Create an account at Google Cloud Data Loss Prevention and a service account with the permissionroles/dlp.user.
When installing hoop.dev, you need to set the environment variable GOOGLE_APPLICATION_CREDENTIALS_JSON with your GCP DLP credentials in hoop’s Gateway. Hoop.dev uses Google Cloud’s DLP at our protocol layer to mask sensitive data in real-time in the data stream of any connection you configure.
Google Cloud Data Loss Prevention (DLP) is still available for existing customers but is deprecated for new installations.
Redact Modes
The gateway now supports two operational modes that control how redaction failures are handled. Configure your preferred mode by setting the environment variable DLP_MODE to eitherstrict or best-effort.
best-effort
This is the default mode, it will redact the content, however if it find any error it will continue to operate without any disruption.DLP_MODE=best-effort
strict
This mode will return an error in case it find any redaction issueDLP_MODE=strict
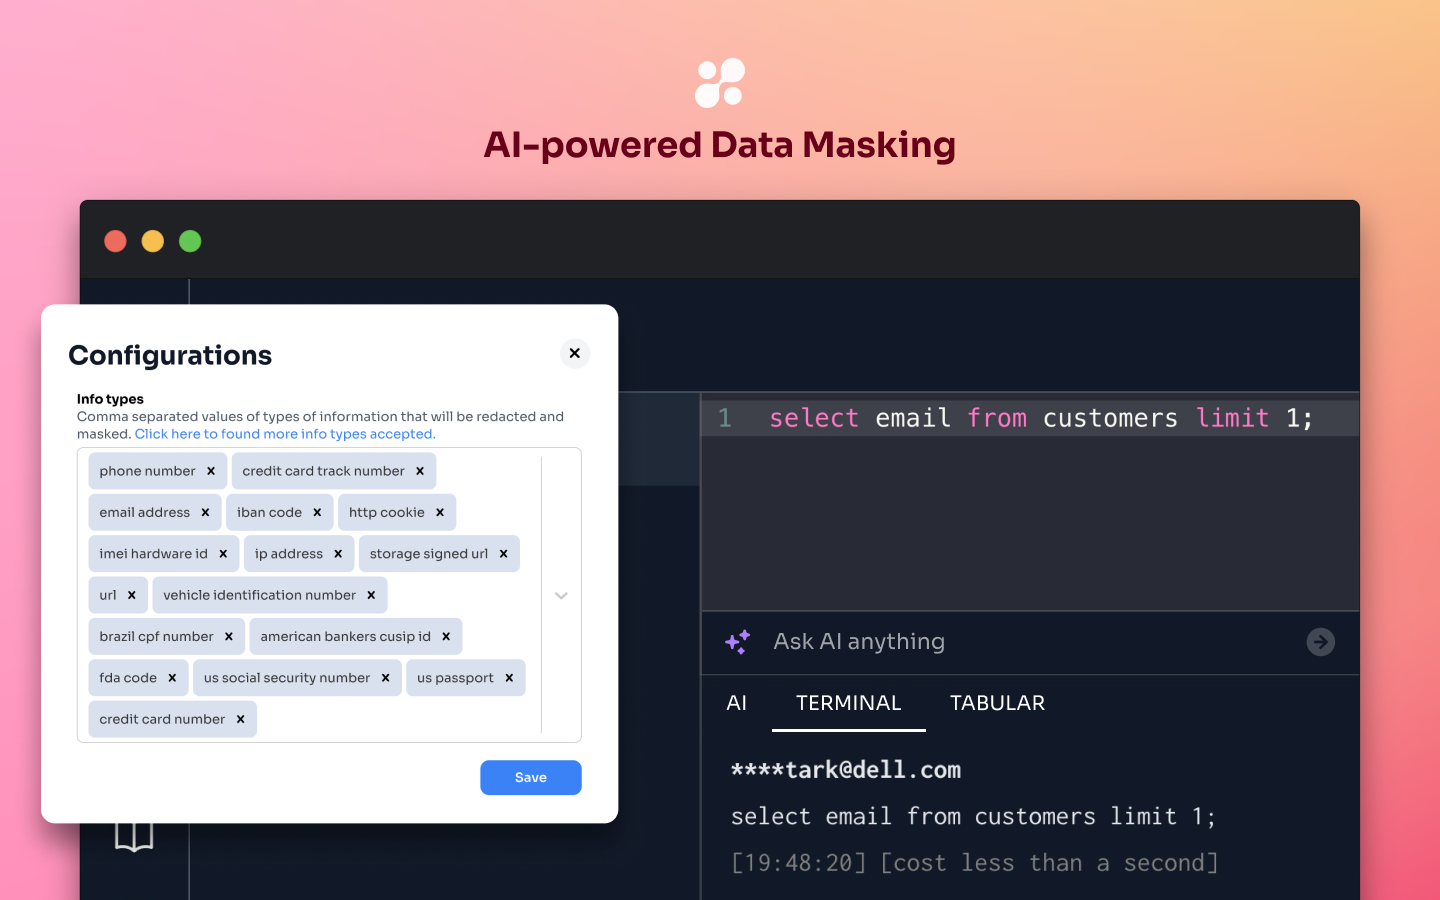
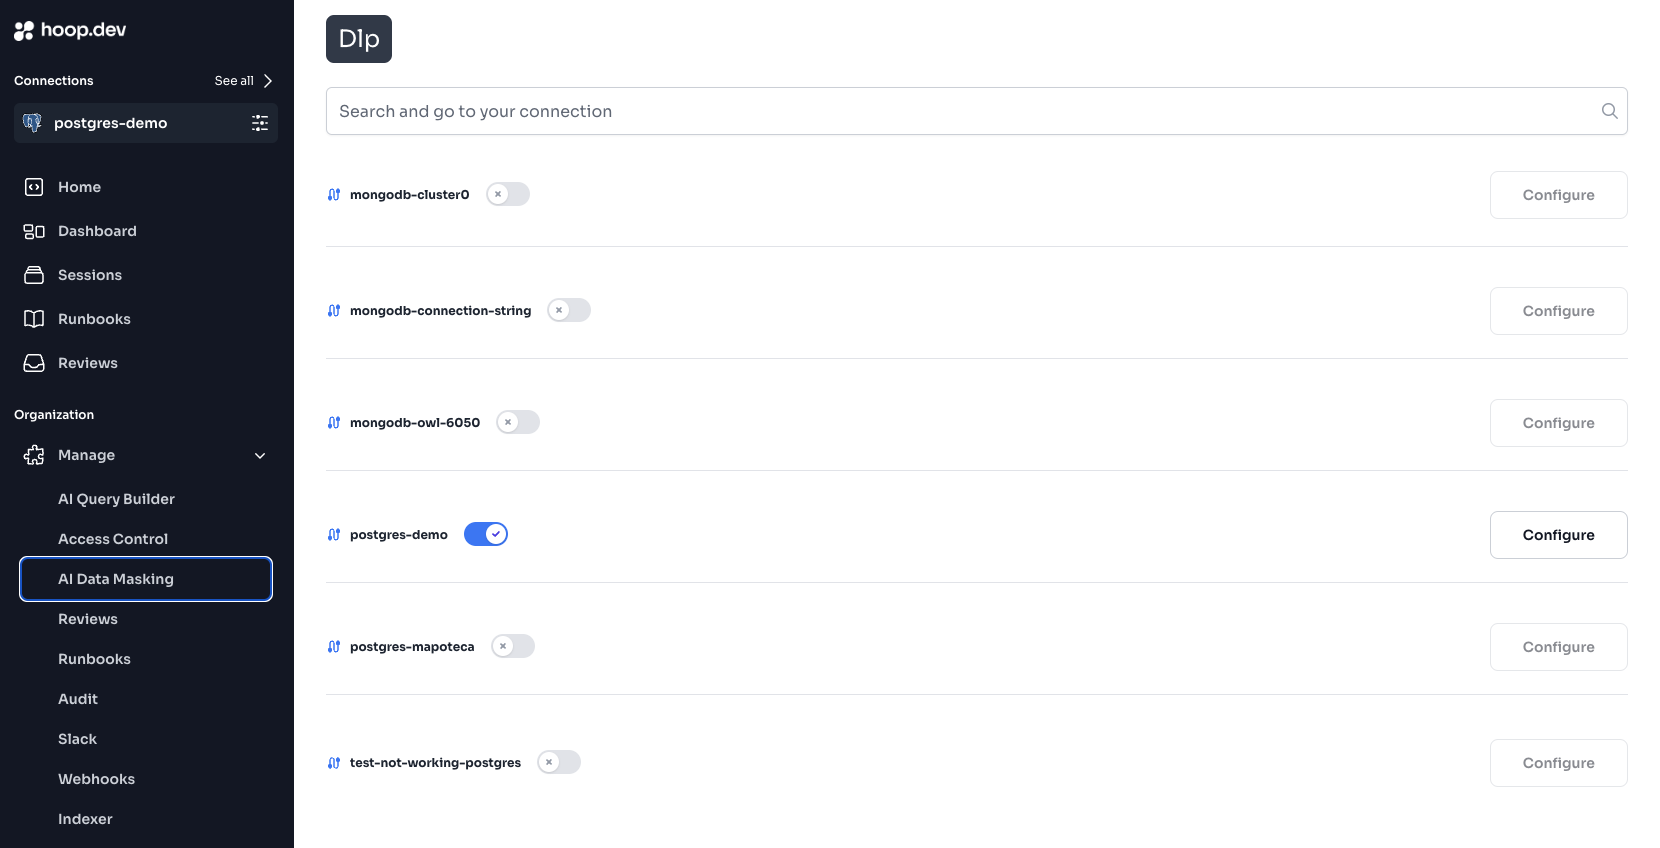
Activate to your connections
Navigate to your Web App instance > Open the Manage toggle > click at AI Data Masking > Activate by connection and to configure which fields you want to set, hit the “Configure” button.