Requirements
- Permissions to obtain the incoming webhook URL from Microsoft Teams
- Admin user on hoop
- hoop.dev CLI installed in your local machine

Configuring
- First, obtain the incoming webhook URL. Refer to this section of the Microsoft Teams article.
- Log in to your hoop instance and create a plugin that allows access to the webhook dashboard.
For self-hosted deployments it requires the Svix webhook provider deployed locally or using their SaaS instance. Refer to the Svix documentation for more information.
Create an Endpoint
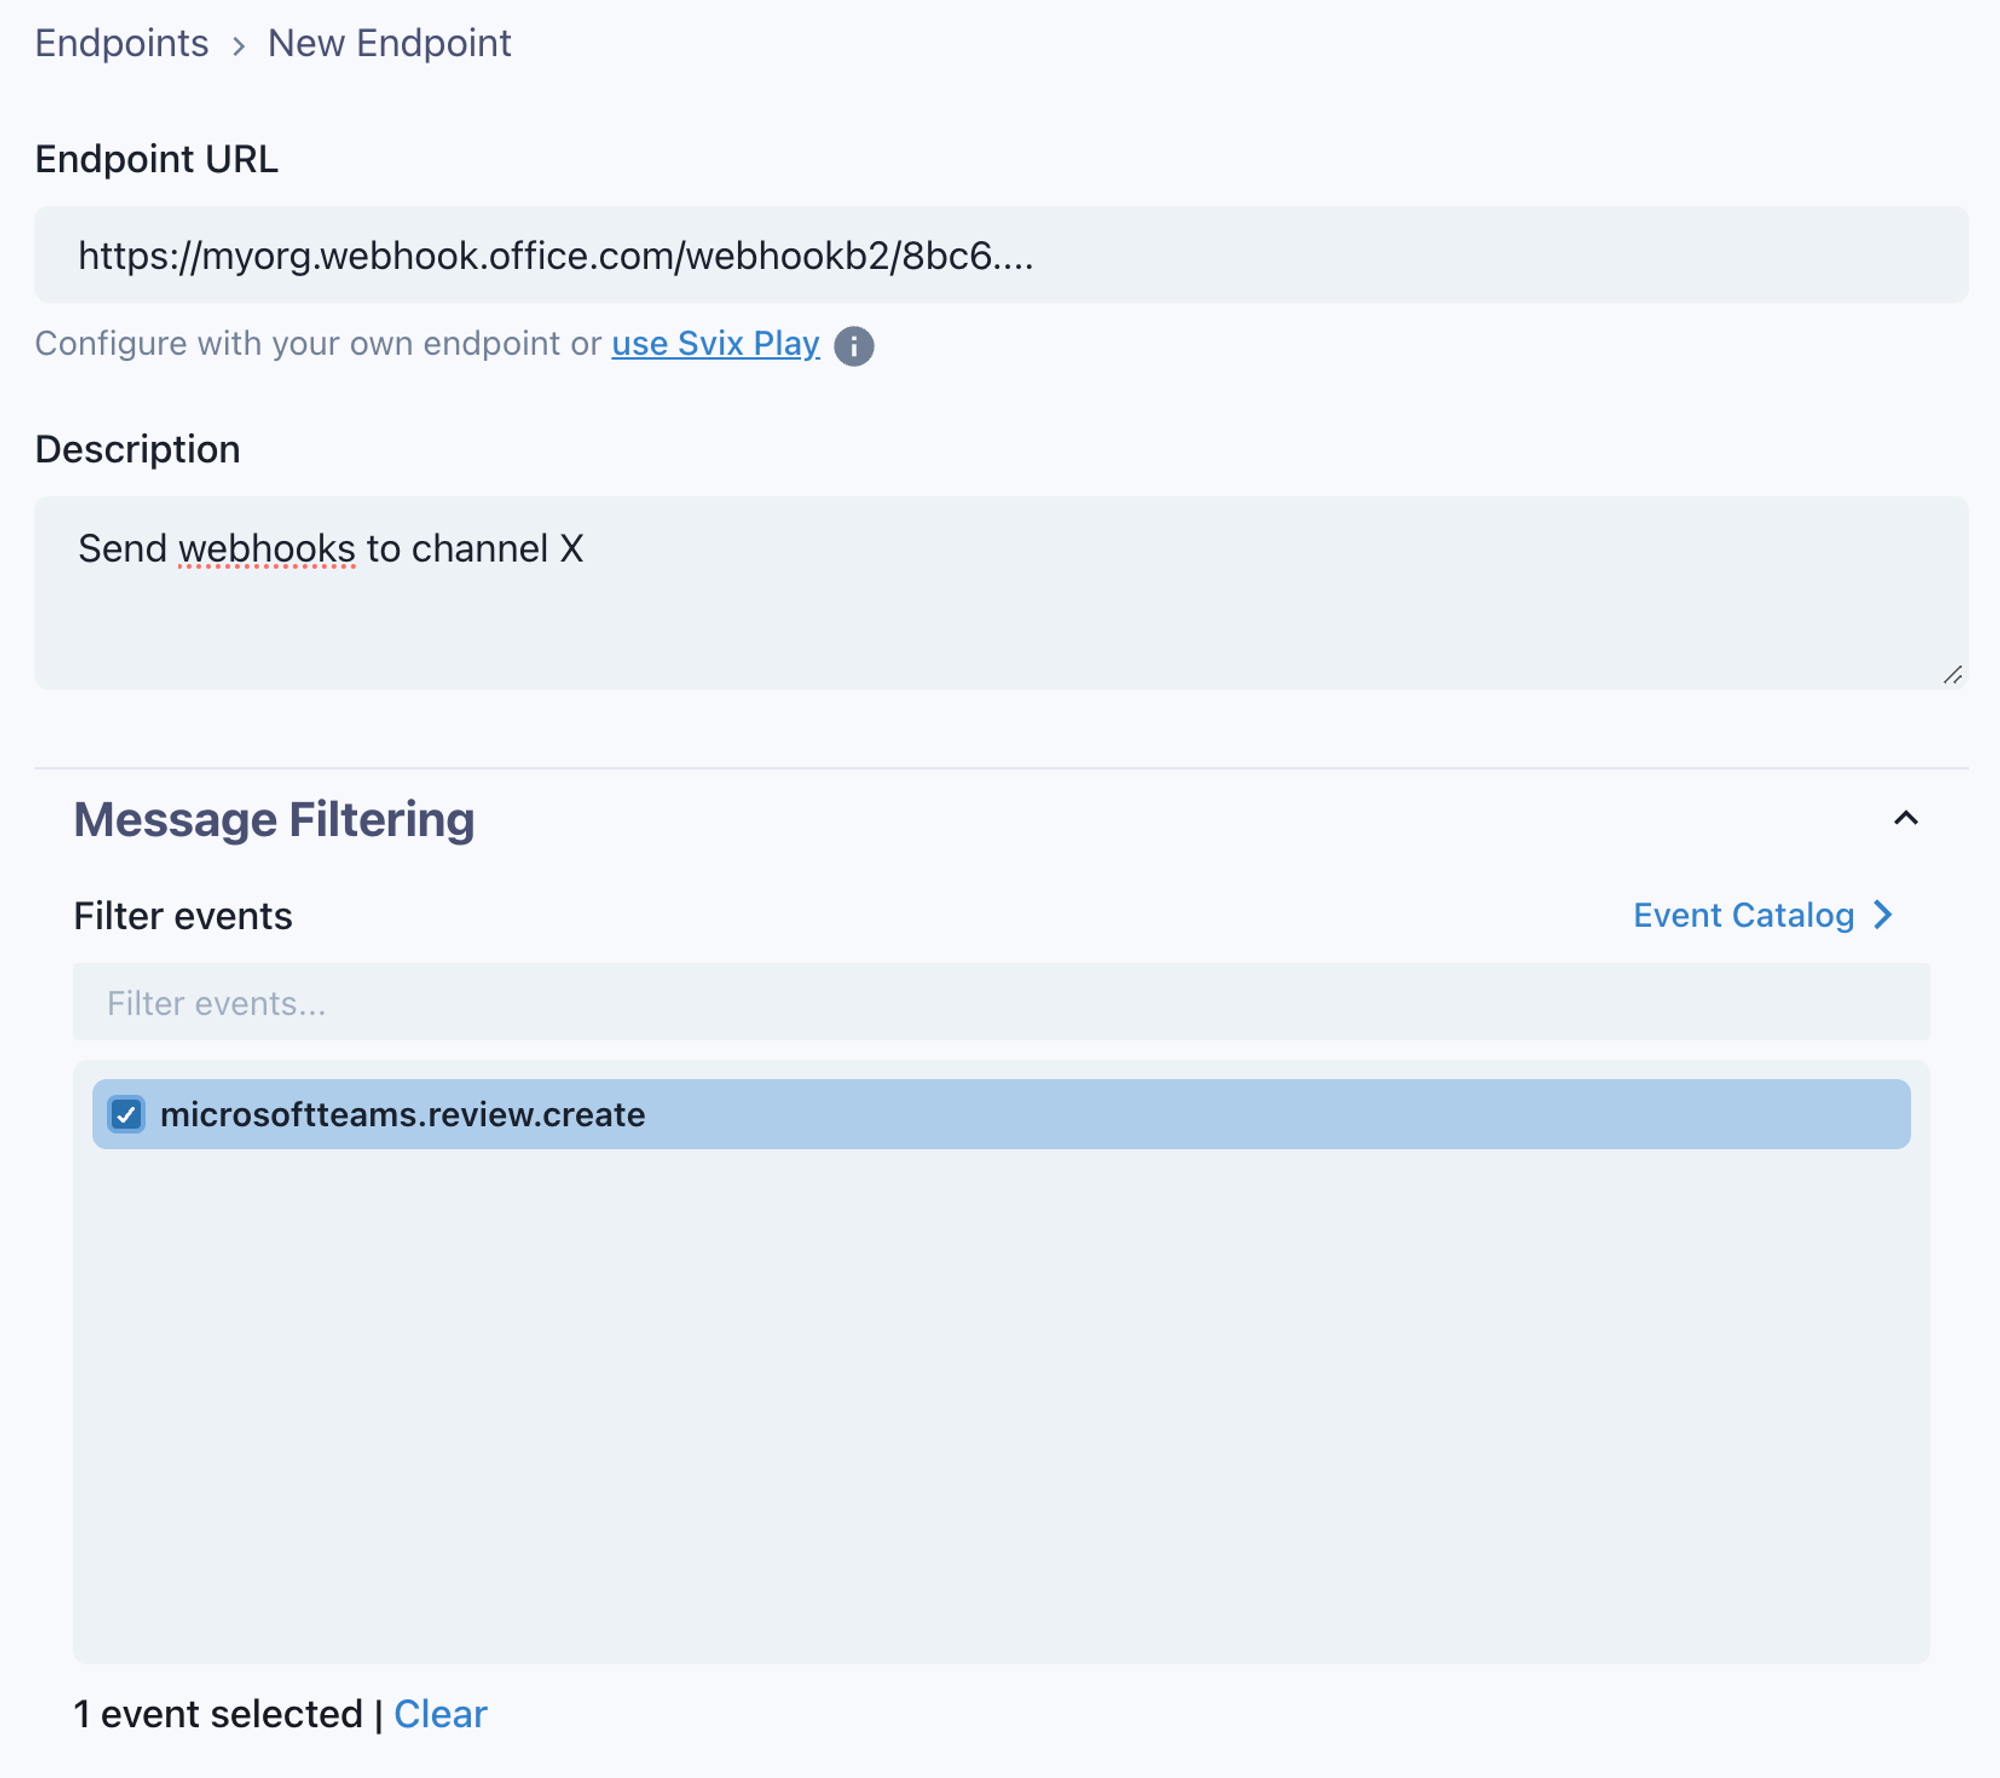
Create an endpoint by adding the URL obtained when creating an incoming webhook in the previous step. And select the events that you wish to send.
In the advanced section, make sure to enable the endpoint rate limit and set it to 4 (per second). This will respect the limitations enforced by the Microsoft Teams service.
Send a Test Event
Go to the Testing tab, select the available event, and click on the Send Example button. This event should be received in the configured Teams channel. In the “Overview” tab, the test with the sent event will be displayed.
Connections
Now, you can define which connections will send this event based on the plugin configuration. Update or add a new connection to enable this plugin.Supported Events
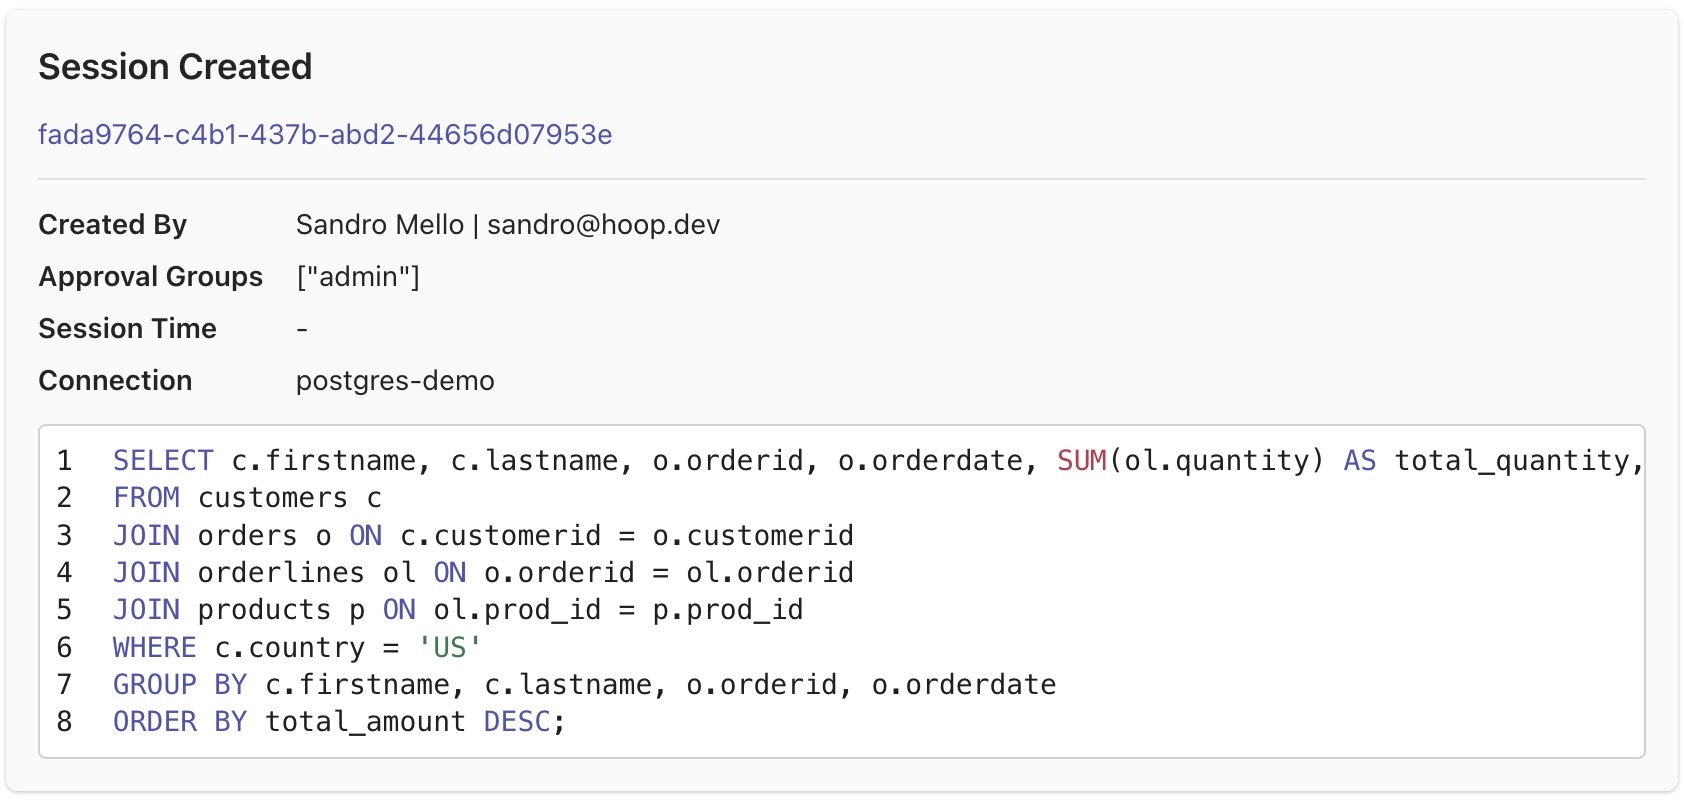
microsoftteams.review.create