Requirements
- Access to AWS account with privileges to setup roles and/or IAM credentials
- Admin access to the Hoop Gateway instance
Configuration
To configure the AWS Connect integration, it needs proper permissions to list resources and modify RDS instances.Main Account Setup
1
Create IAM Policy
The policy
HoopAWSConnect must be created in your AWS account.
It will grant the necessary permissions to the IAM user or role that will be used for the integration.- Go to IAM > Policy > Create Policy
-
Switch the Policy Editor to
JSONand paste the policy below -
Click in Next and create it naming the policy as
HoopAWSConnect
2
Create IAM User
Create the IAM user associated with the role created in the previous step to obtain the access key credentials.
- Go to IAM > Users > Add user
- Enter a user name, e.g.,
hoop-aws-connect - Select Attach policies directly
- Search for the policy
HoopAWSConnectcreated in first step - After creating the user, select the user and go to the Security credentials tab
- Click on Create access key
- Select the option Third-party service
- Add the description as
Hoop AWS Connect - Click on Create access key
- Copy the Access key ID and Secret access key to use in the next step
If you want to use the instance role instead of IAM credentials, skip this step.
You will find instructions below on how to configure the instance role.
Multi Account Setup
For multi-account setup, you can configure your IAM user or instance role to access resources across different accounts.Invite your AWS Account
To allow Hoop to access your AWS account, you need to invite it to your AWS Organization. The list of AWS accounts will be displayed in the integration configuration page, and you can select the accounts you want to provision roles for.1
Invite AWS Account
- Login to your main account
- Go to AWS Organizations > AWS Accounts > Invite an Existent AWS Account
- Enter the email address or the account id to invite this account
2
Accept the Invitation
- Login to the invited account
- Go to AWS Organizations > AWS Accounts > Invitations
- Accept the invitation from your main account
Policy and Role Creation
To allow Hoop to access your AWS account, you need to create a policy and a role in each AWS account that you want to allow Hoop to access. The policy grants the necessary permissions to the role, which is then assumed by Hoop to perform actions on your behalf.1
Create IAM Policy
The policy
HoopAWSConnect must be created in your AWS account.- Go to IAM > Policy > Create Policy
-
Switch the Policy Editor to
JSONand paste the policy below -
Click in Next and create it naming the policy as
HoopAWSConnect
2
Create IAM Role
This step will grant the necessary permissions to assume the role in your main accountCreate the role that will use the policy created in the previous step.
- Go to IAM > Roles > Create Role
- In Trusted entity type, select AWS Account
- In the input below, select Another AWS Account
- Add the account ID of your main account
- Select the Policy
HoopAWSConnectcreated in the previous step - Name the role as
HoopOrganizationAccountAccessRole
It’s important to name the policy as
HoopOrganizationAccountAccessRole because the name is hard-coded in the integration.
In future releases, we may allow users to provide a custom role name.Instance Role
To use the instance role of the Hoop Gateway, you need to configure the environment variable:INTEGRATION_AWS_INSTANCE_ROLE_ALLOW=true
HoopAWSConnect.
See the step above to create the IAM role.
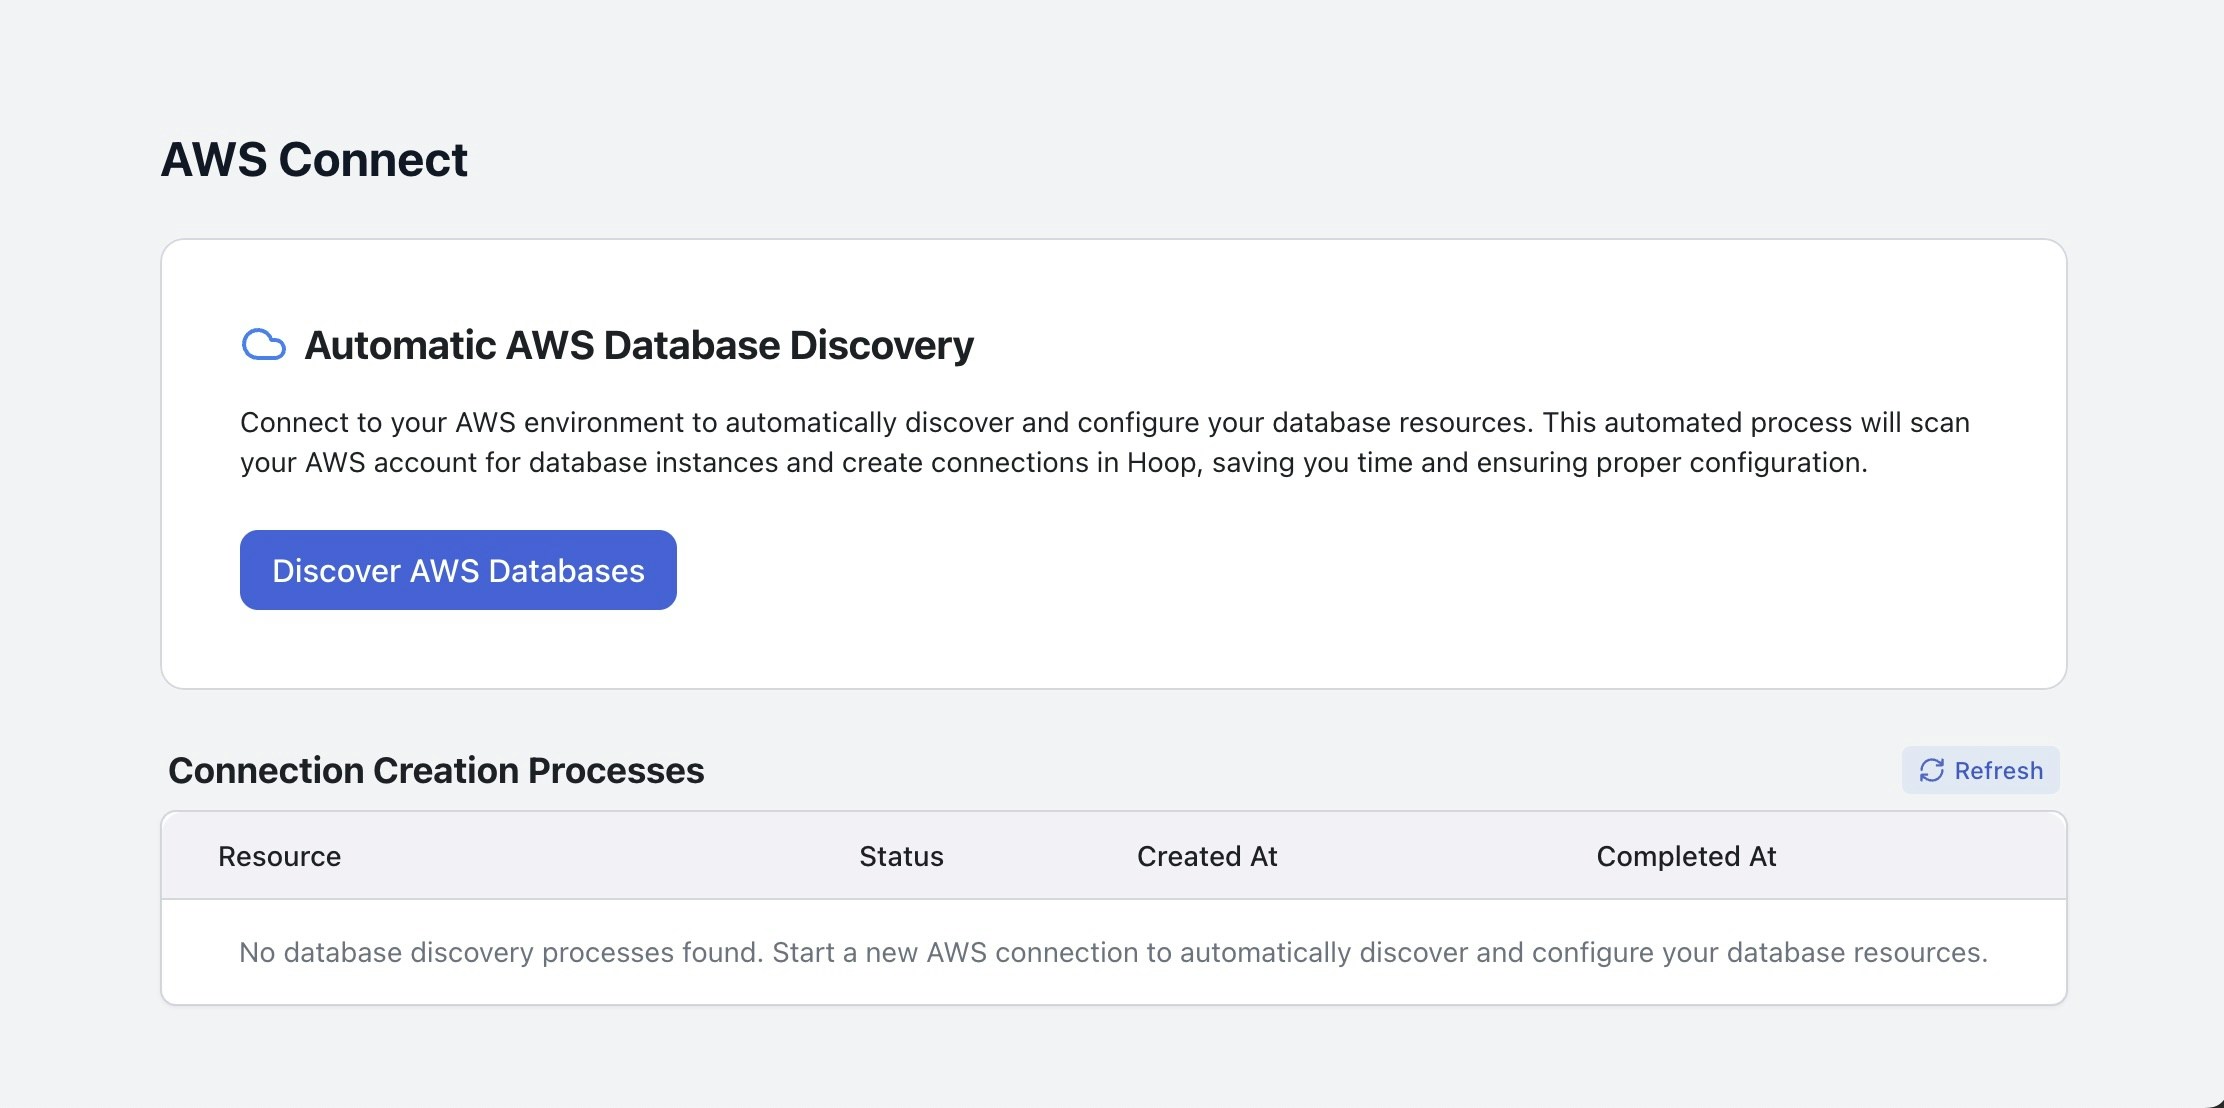
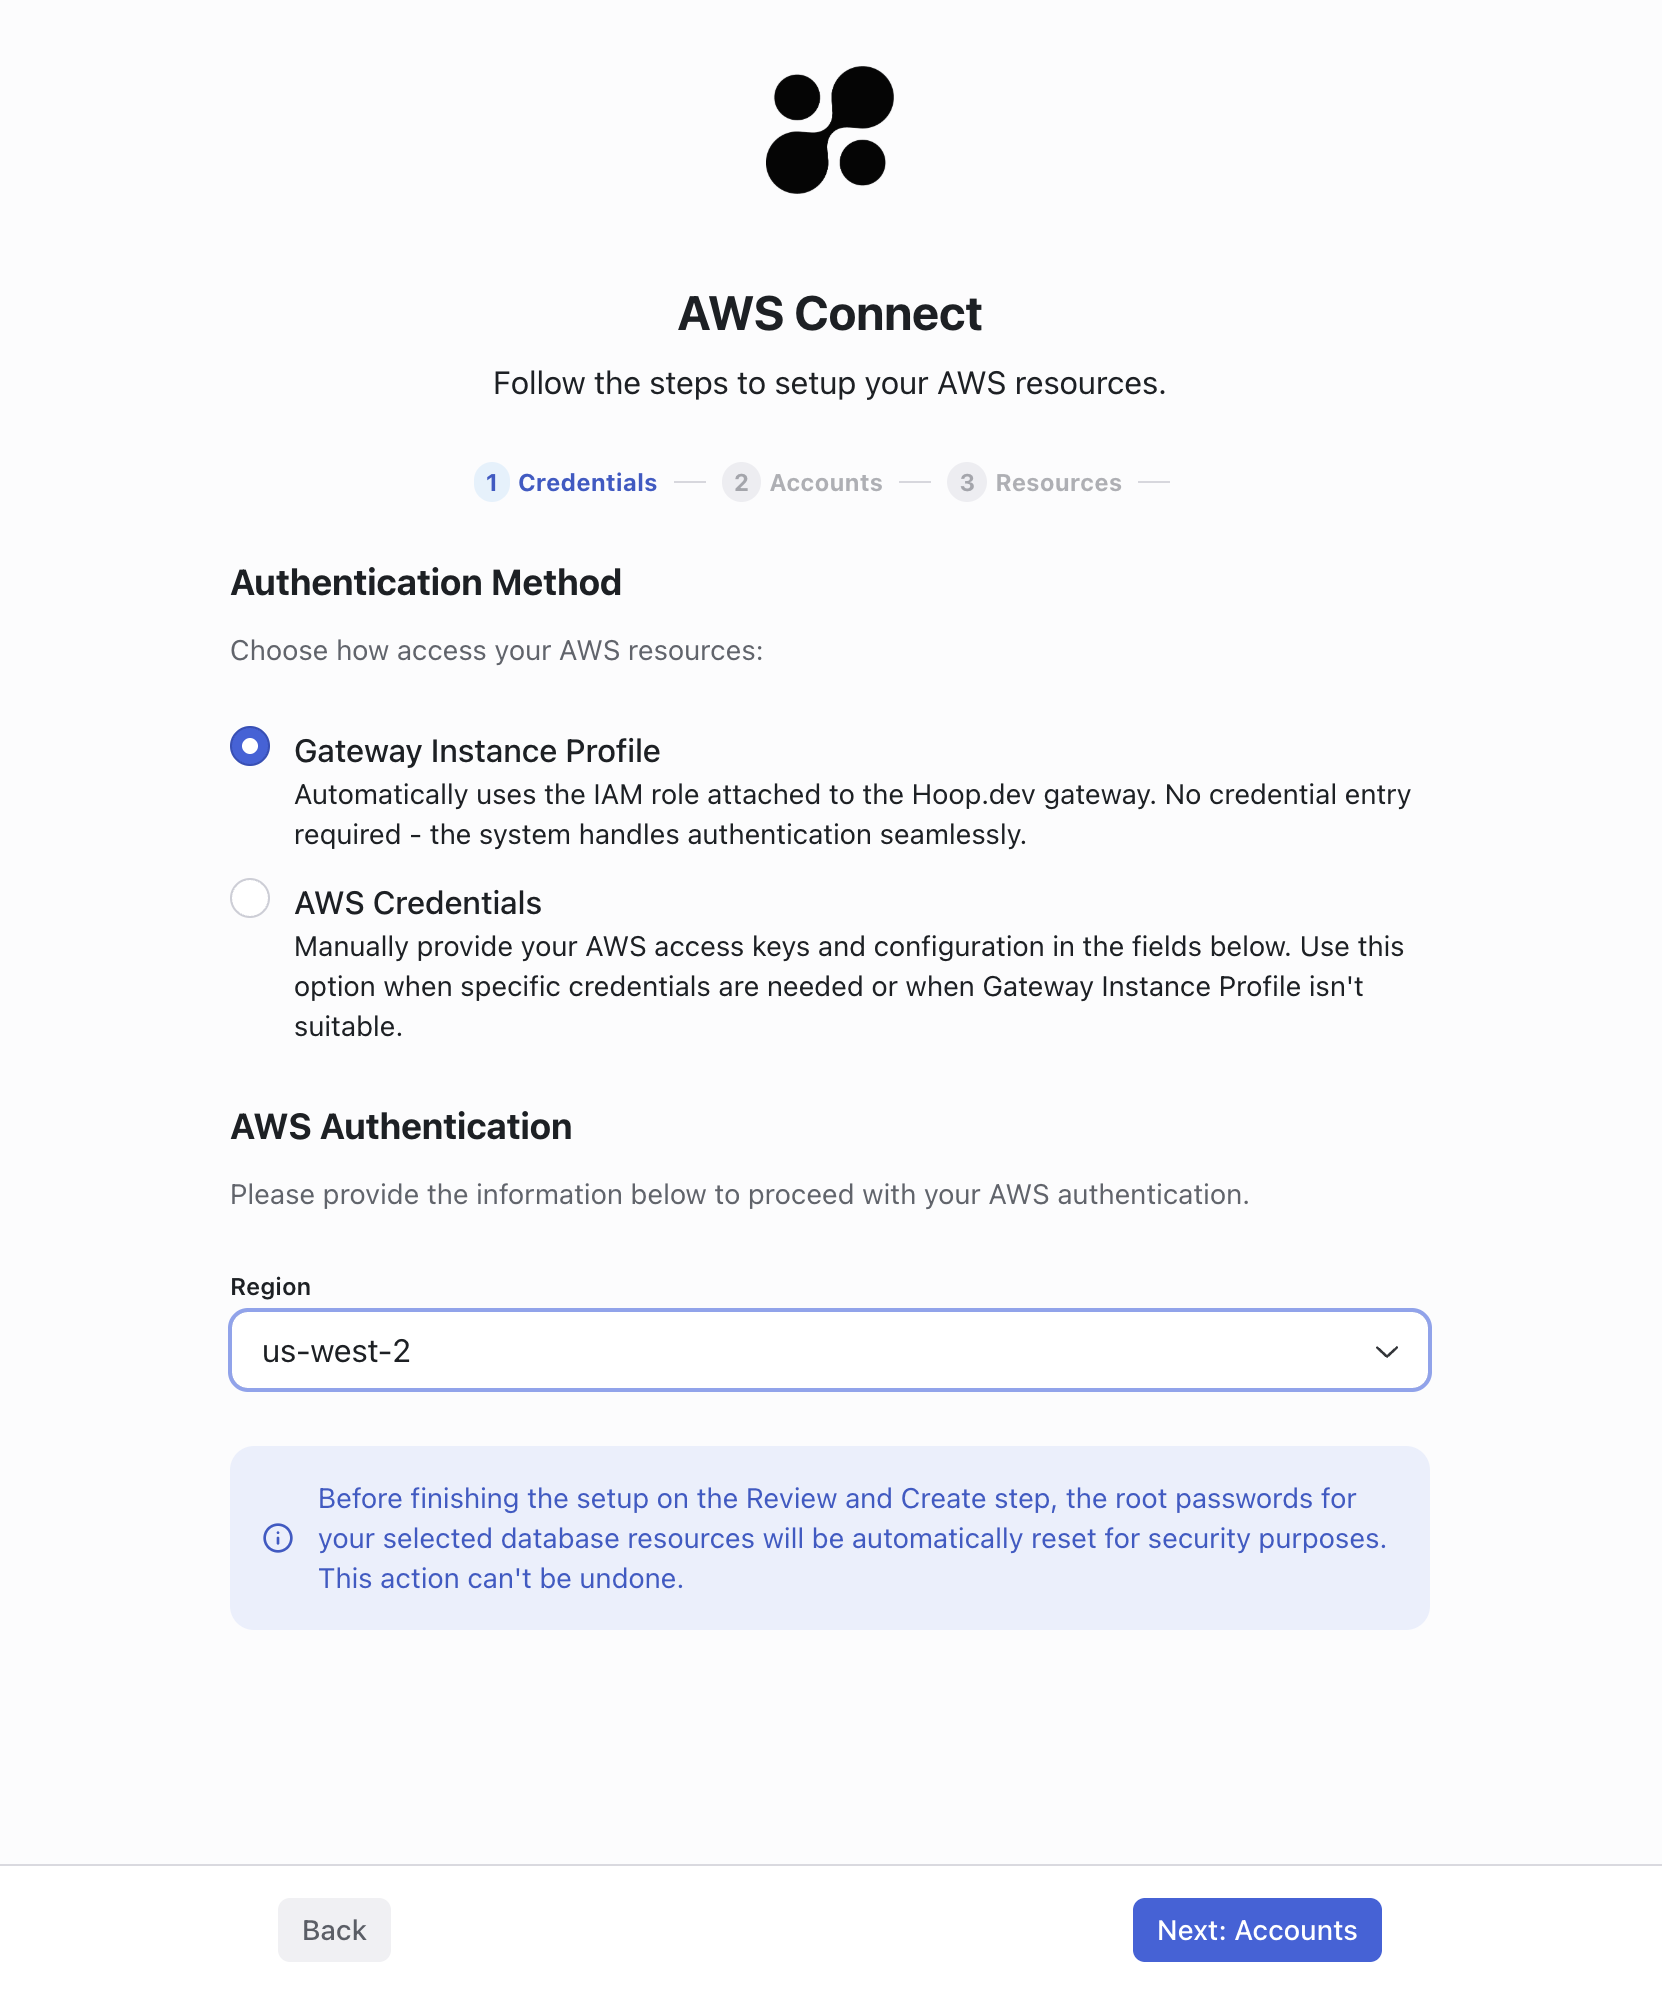
Web Interface
The web interface allows you to configure the AWS Connect integration and manage the provisioning of database roles. It will list the available AWS accounts and the databases that can be provisioned.Access Key Credentials

Instance Role
Agent Deployment
The agent connects to your underlying infrastructure to provision and access your databases. Before proceeding, make sure to provision an agent for every private network in which your database is running.If you have connectivity with all databases from a single machine, you could deploy the agent in this network
to gain access to all databases using a single agent.
Supported Engines
- Postgres / Aurora
- MySQL / Aurora
- SQL Server
Security Group Management
The gateway automatically creates and associates a dedicated security group to enable secure connectivity between the gateway and your agent. This security group is configured with the following properties:- Resource Name:
hoop-aws-connect-sg-<db-instance-identifier> - Tag:
hoop.dev/gateway=<api-hostname>
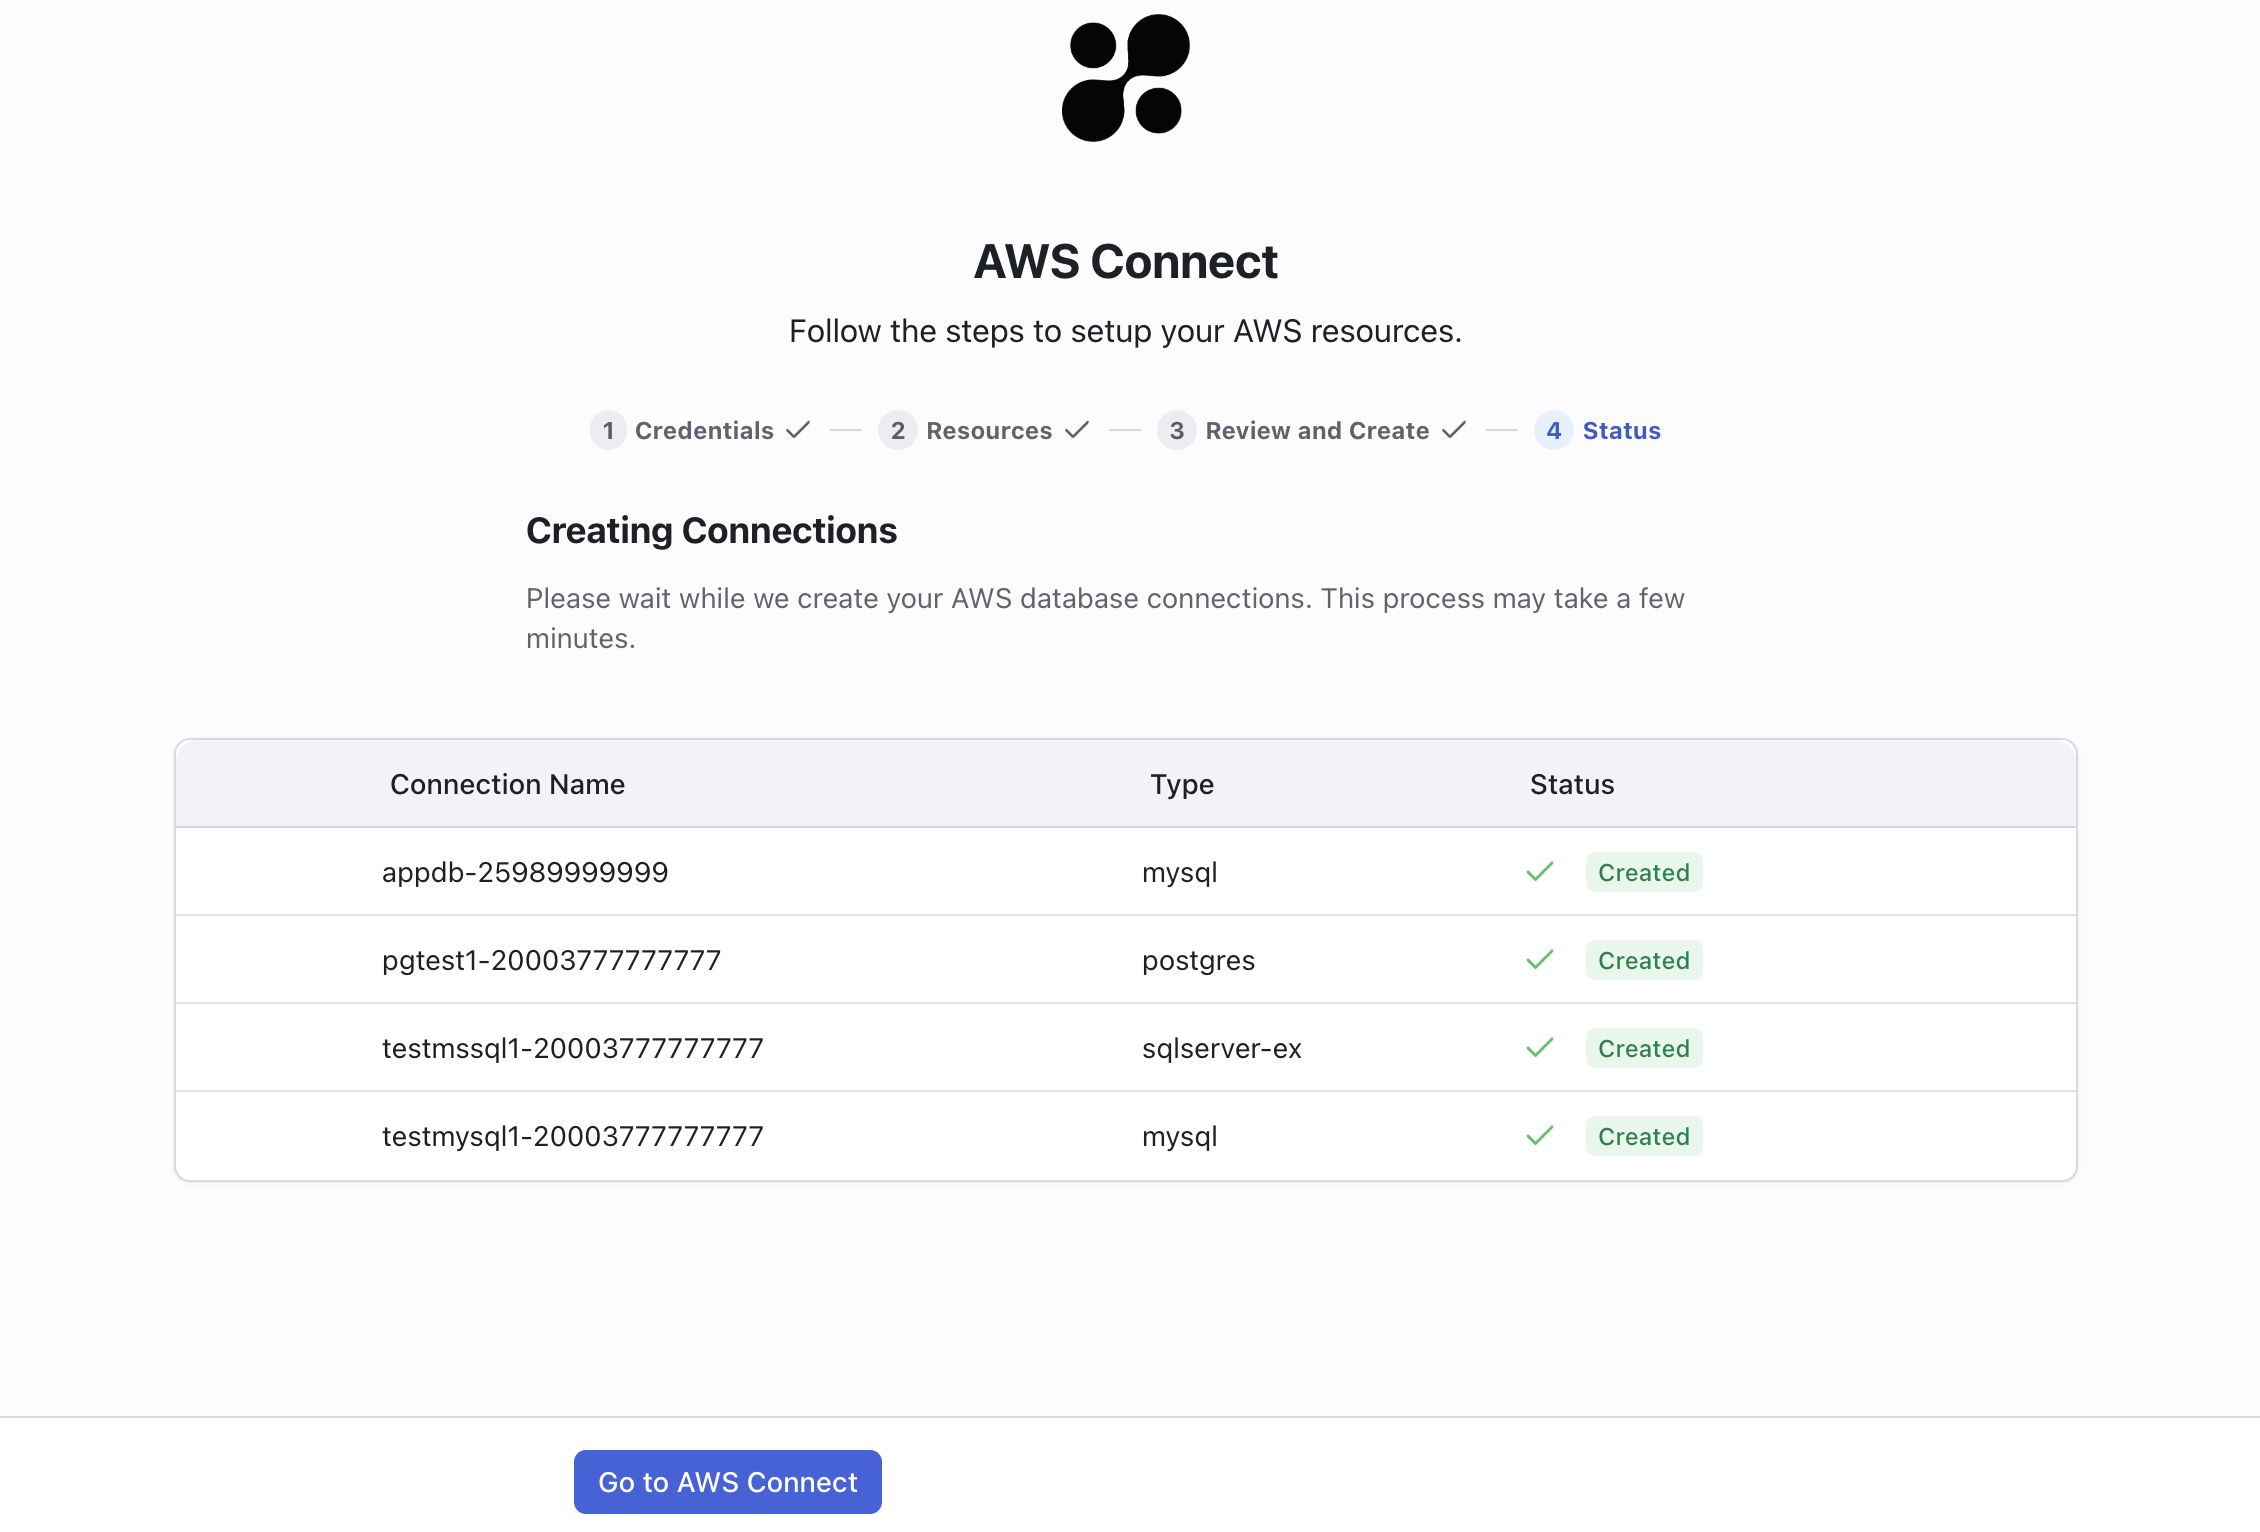
Roles and Resource Role Management
The provisioner will reset the master database credentials using a random password. The user and password are stored in Hoop’s database. Subsequent requests for provisioning roles reuse the master credentials stored in Hoop. The provisioner will create three static user roles for all existing databases depending on the engine:- hoop_ro
- hoop_rw
- hoop_ddl
<connection-name-prefix>-ro<connection-name-prefix>-rw<connection-name-prefix>-ddl
Webhooks (Svix)
In the final step of the job, you can send webhooks to an external system for integration purposes. The webhook provider must be configured to send the message properly. More information could be found here. The payload structure matches the endpointGET /api/dbroles/:id.
In the final step of the job it’s possible to send Webhooks to an external system for integration purporses.
The Webhook provider must be configured to send the message properly. The payload is the same structure of the endpoint GET /api/dbroles/:id.
Refer to the API Reference section in the documentation sidebar for more details about the structure of the
event_payload attribute.Runbook Hook
This feature is available in version 1.35.7+.
- The Runbook must be enabled with a git repository
- The specific file path
hoop-hooks/aws-connect-post-exec.runbook.pymust exist in your git repository to trigger the hook - Note: Output content (stdout, stderr) is limited to 4096 bytes
hoop-hooks/aws-connect-post-exec.runbook.py
hoop-hooks/aws-connect-post-exec.runbook.py
Runbook Inputs
The request and response objects are available as environment variables in JSONRequest Object
Request Object
- Environment Variable
HOOP_AWS_CONNECT_REQUEST
Response Object
Response Object
- Environment Variable
HOOP_AWS_CONNECT_REQUEST
Vault Secrets Manager
This integration enables you to delegate the management of secrets to HashiCorp Vault, a robust secrets management solution. When enabled, all provisioned roles are securely stored in Vault. For deployments with resource role provisioning enabled, the integration automatically adds the necessary reference secrets provider and secret ID.For this integration to function properly, the agent must be configured with the correct Vault credentials.
For detailed configuration instructions, please refer to the Vault secrets manager documentation.