What You’ll Accomplish
Attribute-Based Access Control (ABAC) lets you scope policies using attributes on resource roles. You can:- Target many resource roles with a single rule by matching a shared attribute
- Reduce long, brittle lists of individual resource roles in policy configuration
- Keep using explicit per-resource-role assignment where that still fits your team
- Manage attributes in one place, including batch-style updates
How It Works
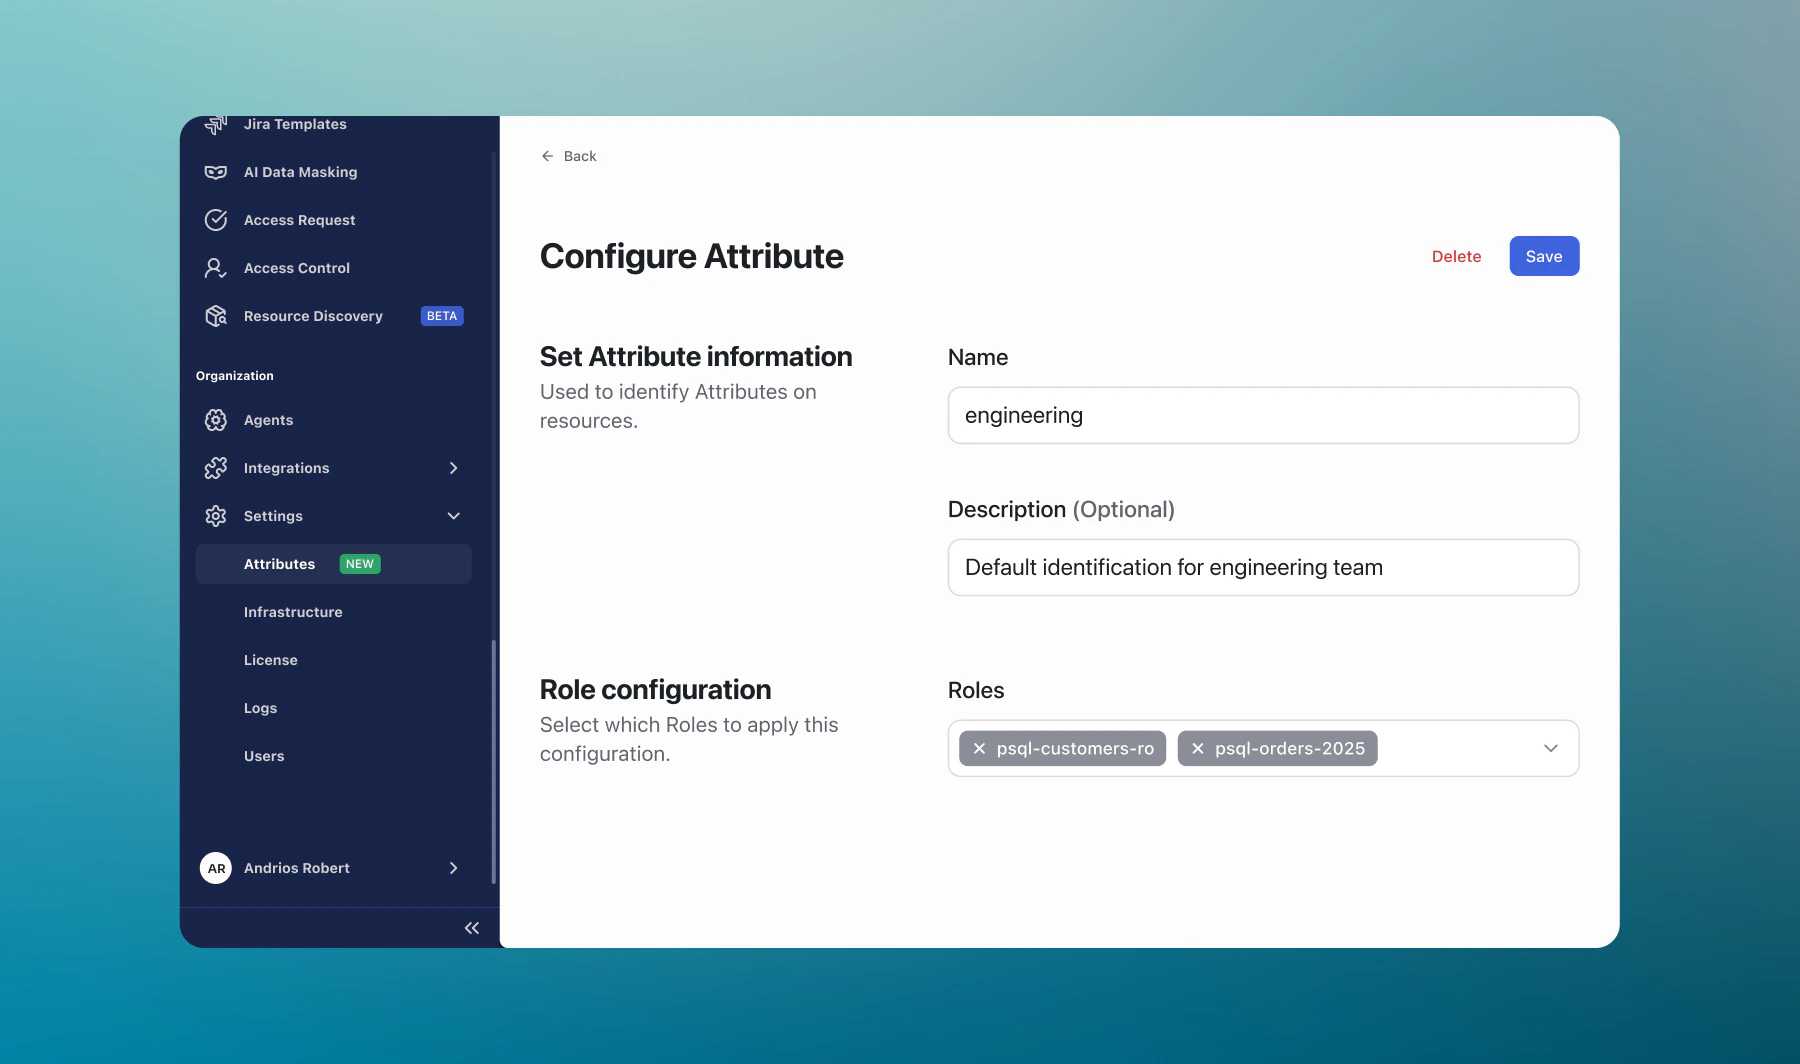
Configure attributes
For each attribute, define what it represents and which resource roles it applies to.
Scope policies by attribute
When you configure a supported policy, choose attribute-based scope so one rule can match every resource role that carries that attribute.
Where You’ll See Attributes
| Area | What you can do |
|---|---|
| Settings > Attributes | Create, edit, and review attributes and which resource roles they apply to |
| Resource roles | Set attributes in the Details section of a resource role |
| Feature configuration | Where a feature supports it, scope rules using attributes (for example, Guardrails, Live Data Masking, Access Control, Access Requests) |
Best Practices
Name attributes for policy intent
Prefer stable, meaningful names (for example,
prod-data-store) so rules stay understandable as teams change.Keep assignments current
When resource roles change, update attribute assignments so policies still match the right scope.
Start with a small scope
Pilot attribute-based rules on a narrow attribute, then expand once outcomes look right in sessions and audits.
Pair with per-resource-role rules when useful
Use attribute-based scope for broad patterns and explicit resource role picks for exceptions—both can coexist.
Ready to set it up? The ABAC configuration guide walks through creating attributes, scoping a feature policy by attribute, and verifying the result.
Next Steps
Access Control
Restrict who can use which resources
Guardrails
Block dangerous queries with pattern-based rules
Live Data Masking
Redact sensitive data in query results
Access Requests
Require approvals for sensitive access