Getting Started
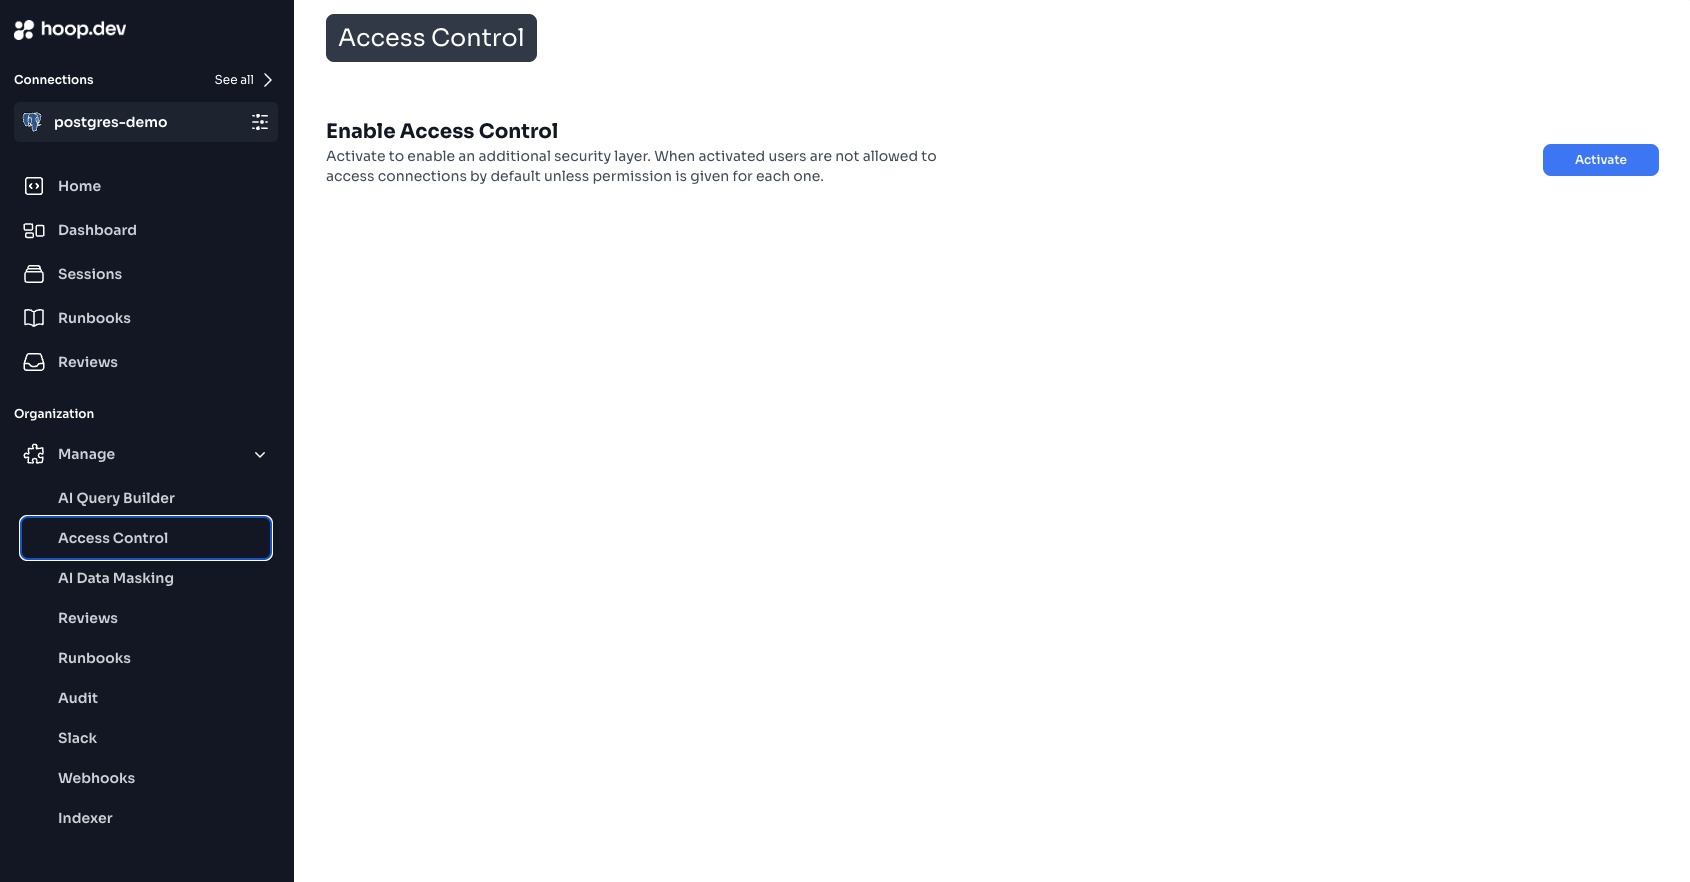
Navigate to Access Control settings
Find the access control section in the left sidebar and click on it.

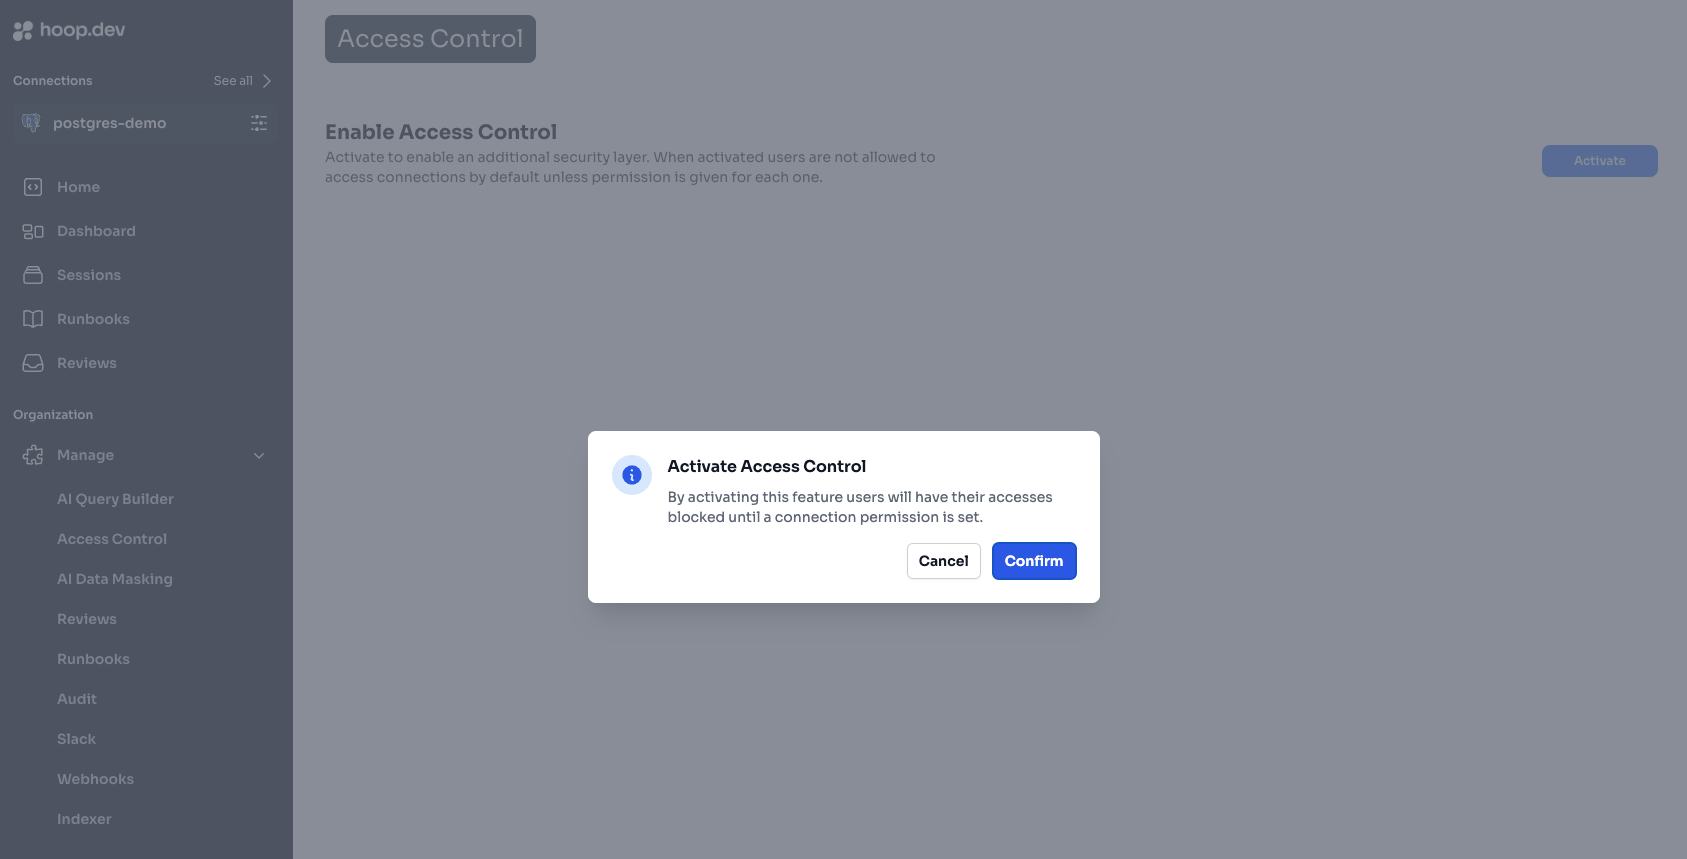
Click Activate
Make sure you are aware of the implications of activating access control to your organization, it will require manual configuration of each connection. After this is activated, users might stop seeing their connections if they don’t have the right permissions.

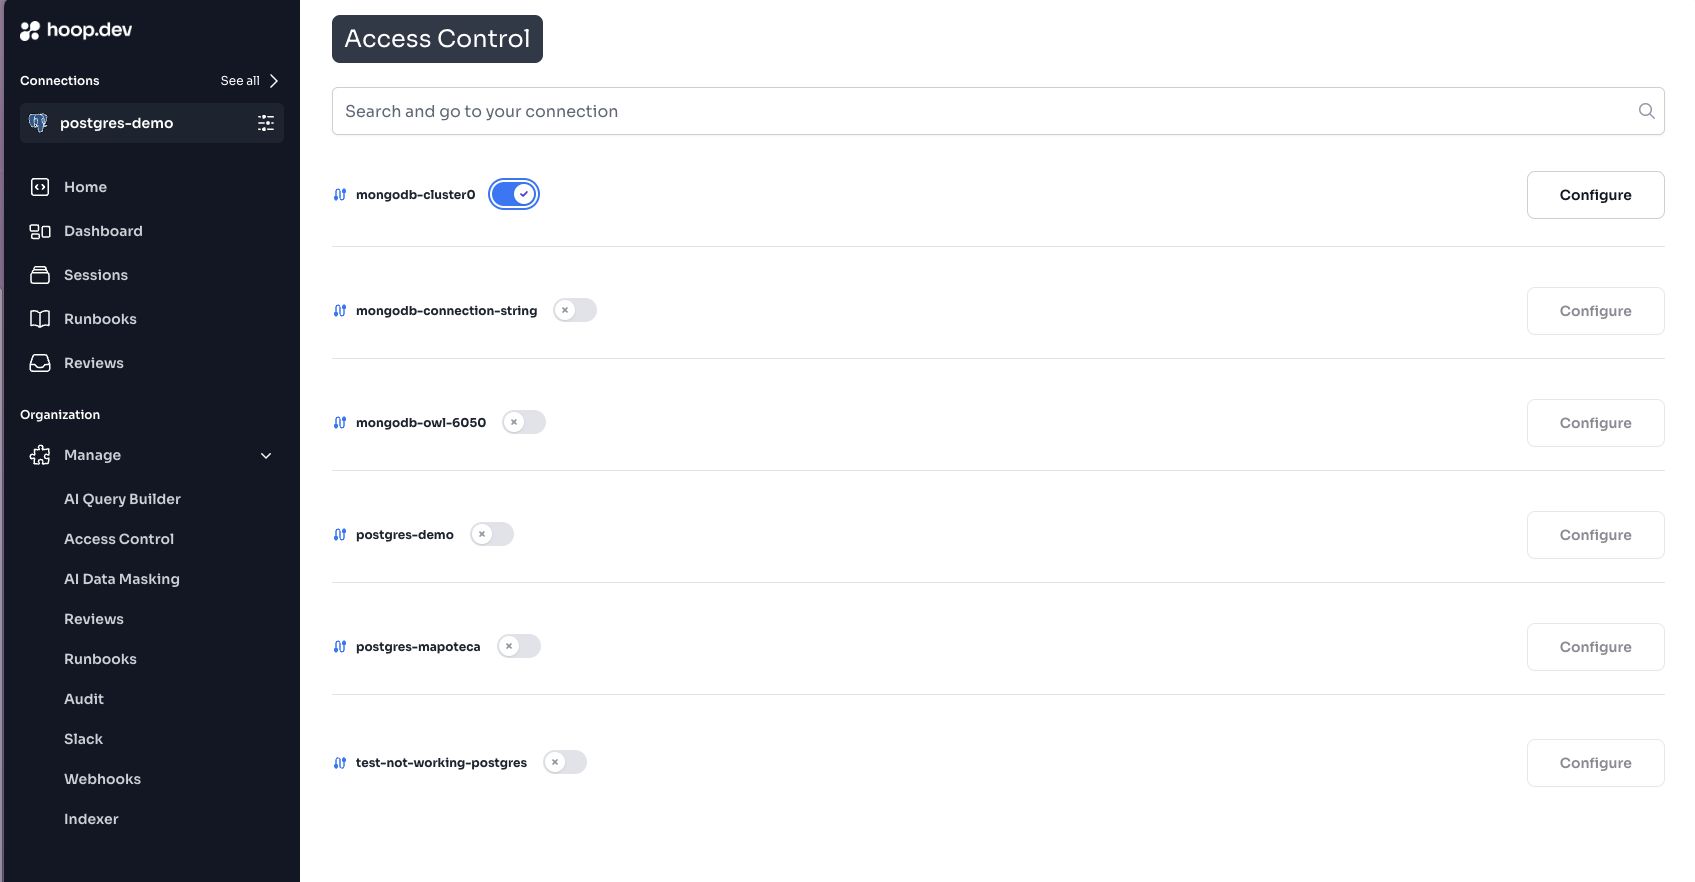
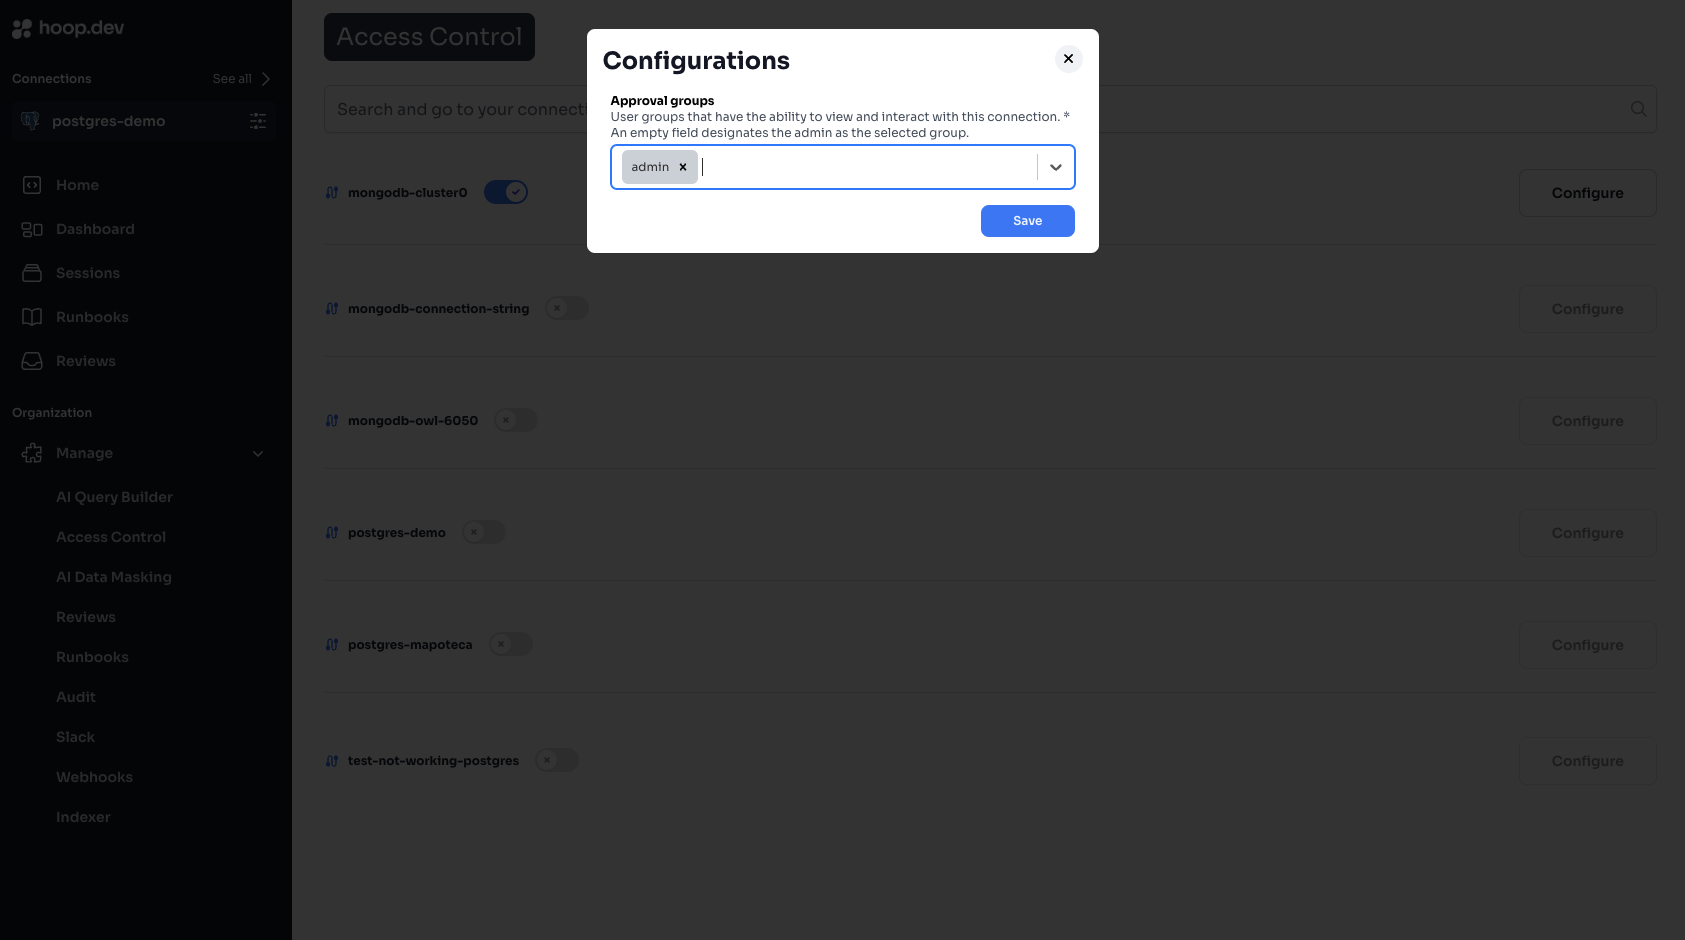
Choose the connections
In this step you will need to manually select and toggle the connections you want to apply access control to. If you don’t toggle a connection, it won’t apply the role groups and users might stop seeing them.

Permission Types
Connection Permissions
Rules that control access to specific connections:- View: Can see and list connections
- Use: Can connect and execute queries
- Manage: Can modify connection settings
Administrative Permissions
Rules that control system-level access:- User Management: Control over user accounts
- Group Management: Ability to create and modify groups
- System Configuration: Access to system settings
Group Management
Best Practices
Least Privilege
Grant minimum necessary access
Regular Audits
Review access permissions periodically
Group-First
Prefer group-based over individual permissions
Document Policies
Maintain clear access policy documentation
