Setting Up Laravel with Hoop: A Guide to Secure REPL Access
In this guide, we'll walk through the process of setting up a Laravel application on Ubuntu and integrating it with Hoop to provide secure REPL access. Hoop offers a safer way to interact with your Laravel application through Tinker, providing enhanced security and control over your REPL sessions.
Prerequisites
Before we begin, ensure you have:
- A Ubuntu server (this guide has been tested on Ubuntu 24.04 LTS)
- Root or sudo access to the server
- Basic familiarity with command line operations
- Hoop CLI installed on your local machine
Local Machine Setup
Before configuring the server, we need to set up the Hoop CLI on your local machine to obtain the organization key and open REPL sessions.
Installing Hoop CLI Locally
First, install the Hoop CLI on your local machine:
curl -s -L https://releases.hoop.dev/release/install-cli.sh | shConfiguring Hoop CLI and Authentication
Configure the CLI to point to your Hoop instance and login:
hoop config create --api-url https://yourinstance
hoop login
Obtaining Organization Keys
After logging in, you can obtain your organization key:
hoop admin get orgkeysMake note of this key as we'll need it for the server configuration.
Setting Up the Environment
Quick Start with Docker
For demonstration purposes, you can run this setup in a Docker container instead of a full Ubuntu server:
docker pull ubuntu
docker run --rm -it ubuntu
This will give you a fresh Ubuntu environment to test the setup.
Installing PHP and Required Extensions
First, we'll install PHP and all necessary extensions that Laravel requires. We'll use the non-interactive frontend to ensure smooth installation:
export DEBIAN_FRONTEND=noninteractive
apt update -y && apt upgrade -y
apt install -y php php-common php-cli php-gd php-mysqlnd php-curl \
    php-intl php-mbstring php-bcmath php-xml php-zip curl php-sqlite3
This command installs PHP along with essential extensions like GD for image processing, MySQL driver, cURL for HTTP requests, and others required by Laravel.
Installing the Hoop CLI
Hoop provides a command-line interface that we'll use to manage proxy the terminal of your server to local clients. Install it using:
curl -s -L https://releases.hoop.dev/release/install-cli.sh | shSetting Up Composer and Creating a Laravel Application
Next, we'll install Composer, PHP's package manager, and use it to create a new Laravel application:
# Install Composer globally
curl -sS https://getcomposer.org/installer | php -- --install-dir=/usr/bin --filename=composer

# Create a new Laravel application
cd $HOME
composer create-project laravel/laravel my_app
Configuring PsySH for Tinker
Laravel's Tinker uses PsySH under the hood. To ensure smooth operation with Hoop, we need to configure PsySH to avoid certain process control functions:
mkdir -p ~/.config/psysh
cat - > ~/.config/psysh/config.php <<EOF
<?php
return [
  'usePcntl' => false,
];
EOF
This configuration prevents issues that might arise when executing commands from Tinker through Hoop.
Testing the Setup
Verifying Tinker Installation
Before integrating with Hoop, let's verify that Tinker works correctly:
> print('hello from hoop.dev')If everything is set up correctly, you should see 'hello from hoop.dev' printed to the console.
hello from hoop.dev
= 1
Integrating with Hoop
Setting Up Hoop Connection
Now we'll configure Hoop to provide secure access to our Tinker REPL. Export your organization key and place inside the HOOP_KEY environment variable
export HOOP_KEY=<your-organization-key>
hoop run --name artisan-demo \
  --command 'php /root/my_app/artisan tinker'
The --command is the command that will be issued when interacting with the artisan-demo connection which is published automatically.
Connecting to the REPL
In your local machine, start a REPL session with your connection:
hoop connect artisan-demoYou should see output similar to:
connection: artisan-demo | session: 57daadf4-56c8-4dbc-bbca-e361a2ac0135
Psy Shell v0.12.7 (PHP 8.3.6 — cli) by Justin Hileman
Let's verify that everything works by running a simple command:
> print('hello from hoop')You should see:
hello from hoop⏎
= 1
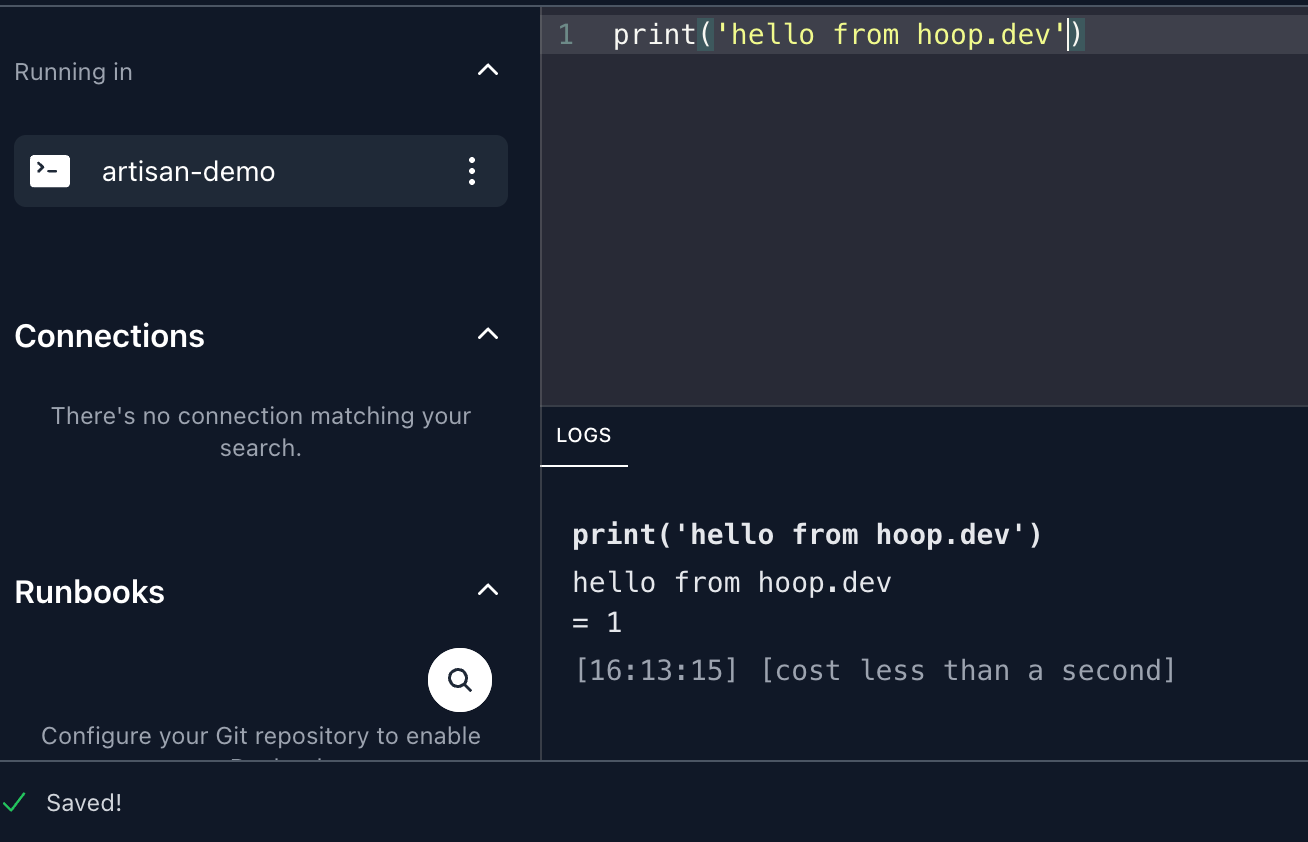
Using the Web Interface
For an even more convenient experience, you can access your REPL through Hoop's web interface:
- Visit the Hoop webapp
- Select the artisan-demo connection
- Try running the same test command to verify the connection

Conclusion
You now have a Laravel application set up with secure REPL access through Hoop. This setup allows you to safely interact with your application's runtime environment while maintaining security and control over who can access the REPL and what they can do with it.
