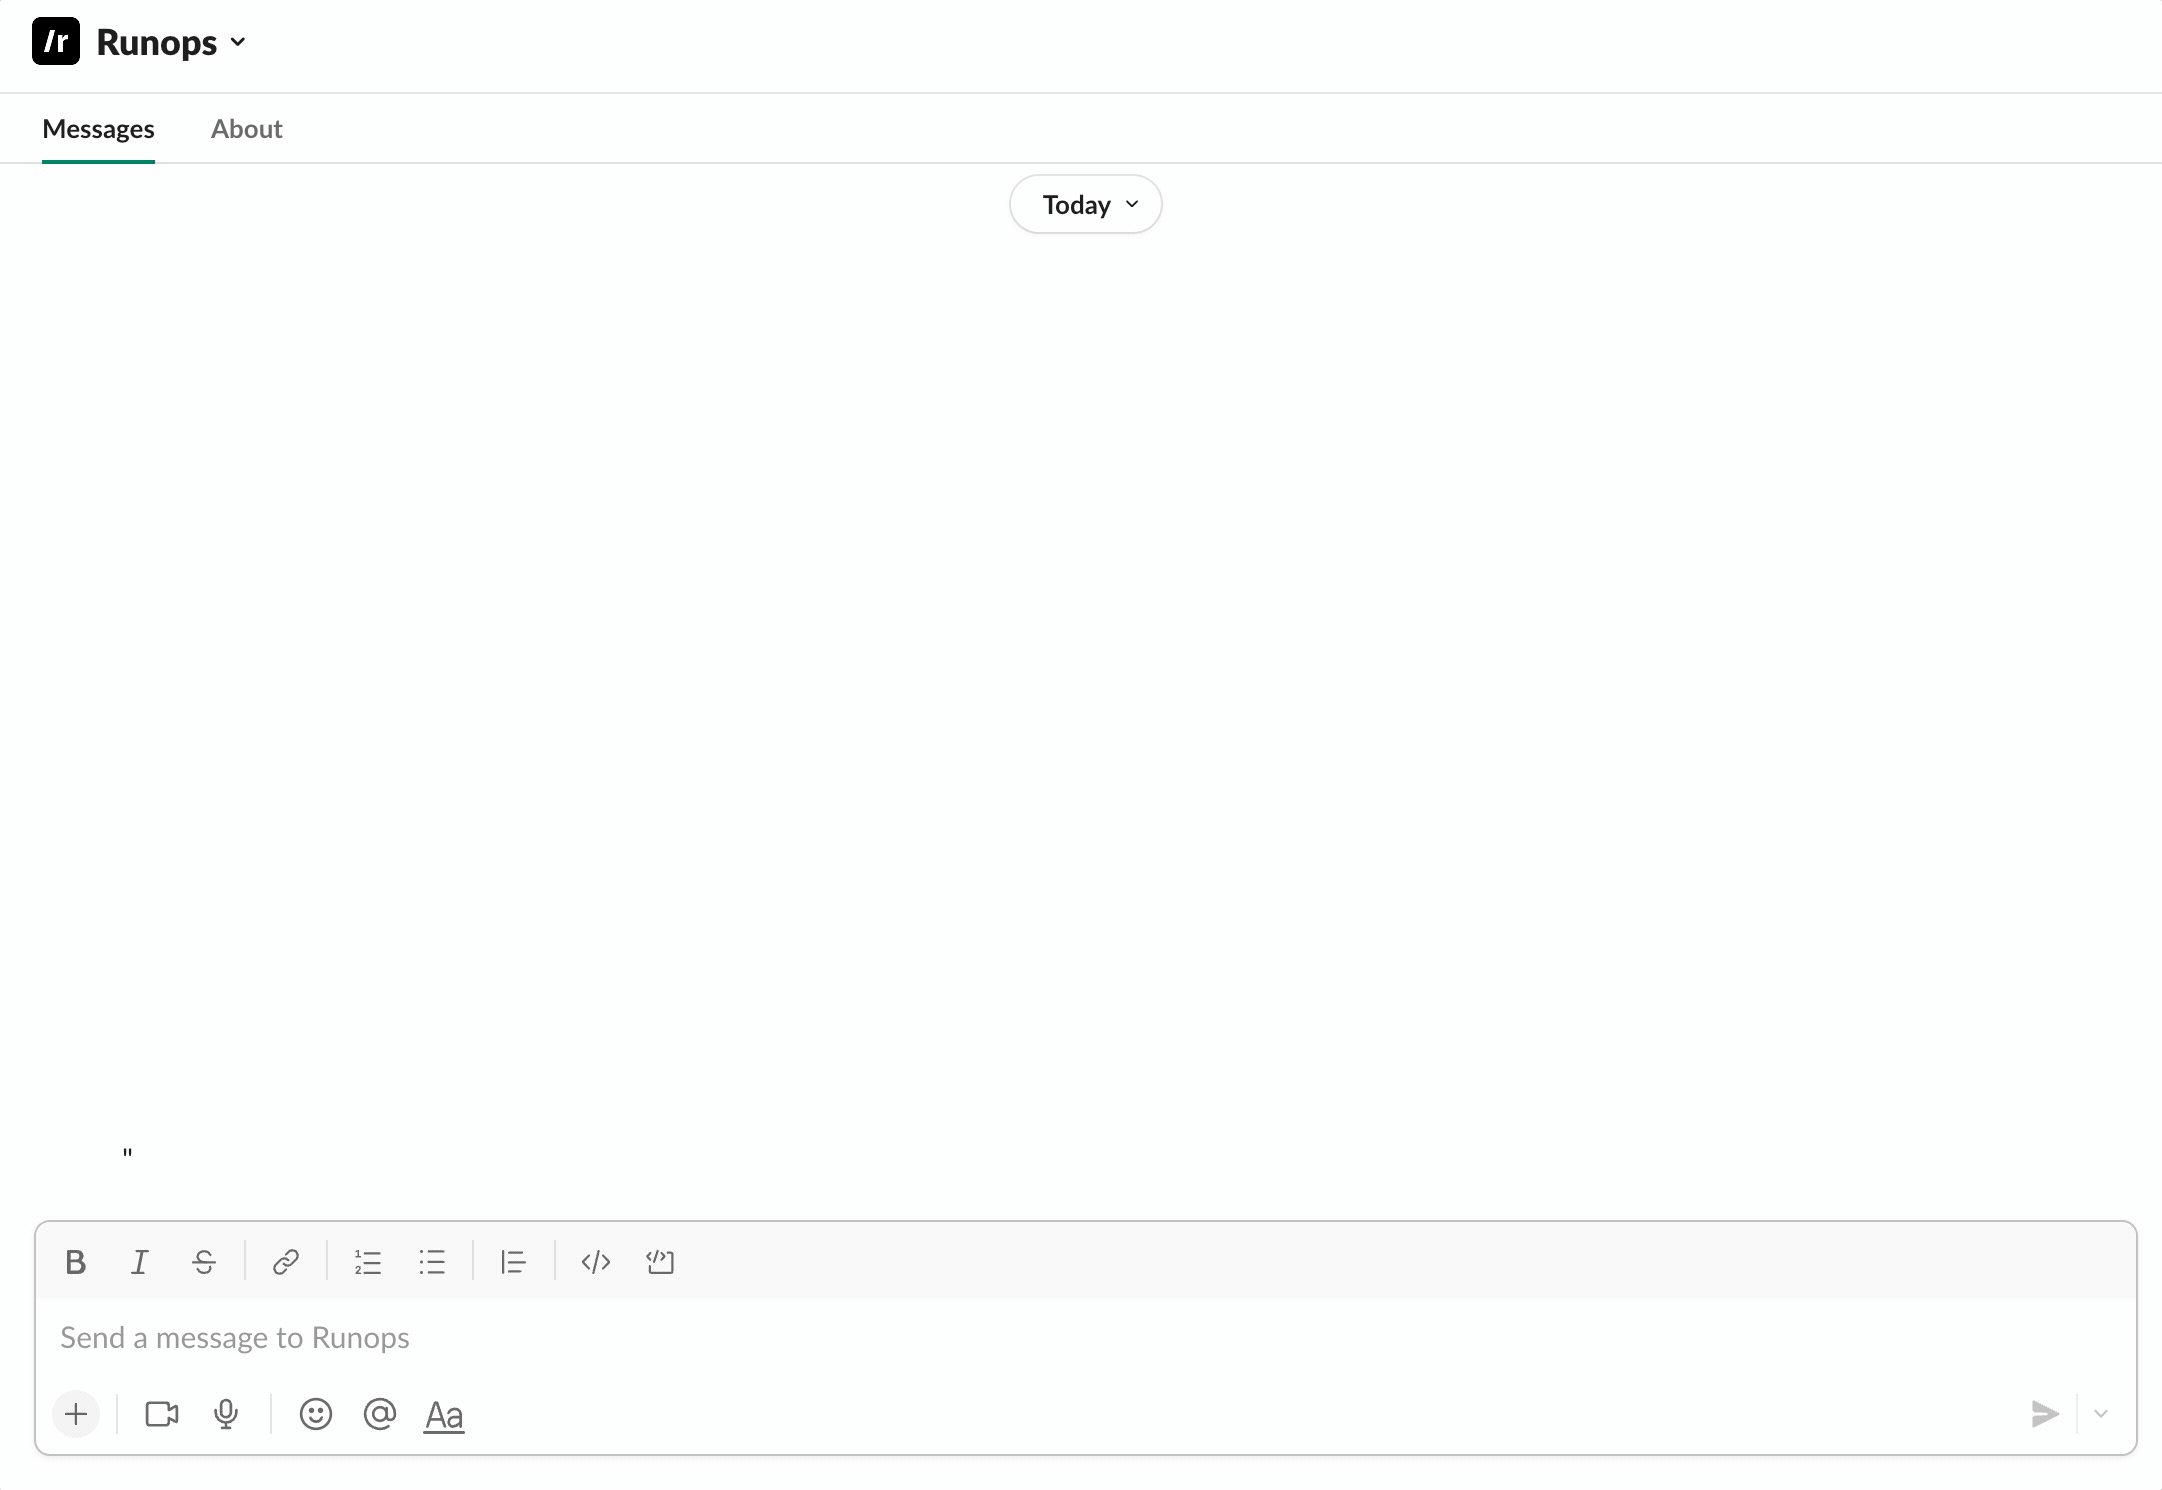
Hey everyone!
If you are a developer that gets stopped by PMs all the time to do simple Firestore updates, this guide will save you a lot of time.
Or, if you are a PM that wants to get less things through the dev team and faster delivery for your users: you are in the right place.
In this 2 parts guide you will learn how to create a no-code interface for updating Firestore inside Slack.
In the end you'll take 10 seconds to go from this:
To this:
For any script.
In part one you will run an
Free White Paper
Secret Detection in Code (TruffleHog, GitLeaks) + Slack Bots for Security Alerts: The Complete Guide
Architecture patterns, implementation strategies, and security best practices. Delivered to your inbox.
Andrios Robert
Hey everyone!
If you are a developer that gets stopped by PMs all the time to do simple Firestore updates, this guide will save you a lot of time.
Or, if you are a PM that wants to get less things through the dev team and faster delivery for your users: you are in the right place.
In this 2 parts guide you will learn how to create a no-code interface for updating Firestore inside Slack.
In the end you'll take 10 seconds to go from this:
To this:
For any script.
In part one you will run and share Firestore update scripts from Runops
In part two you will create no-code interfaces for these scripts in seconds
Now we need to create a script to run in your connection. In this example we will update a Firestore table. /Just.code.it
In Runops, head over to Tasks and select your firebase connection in the top left. Then put the script in the editor and run it!
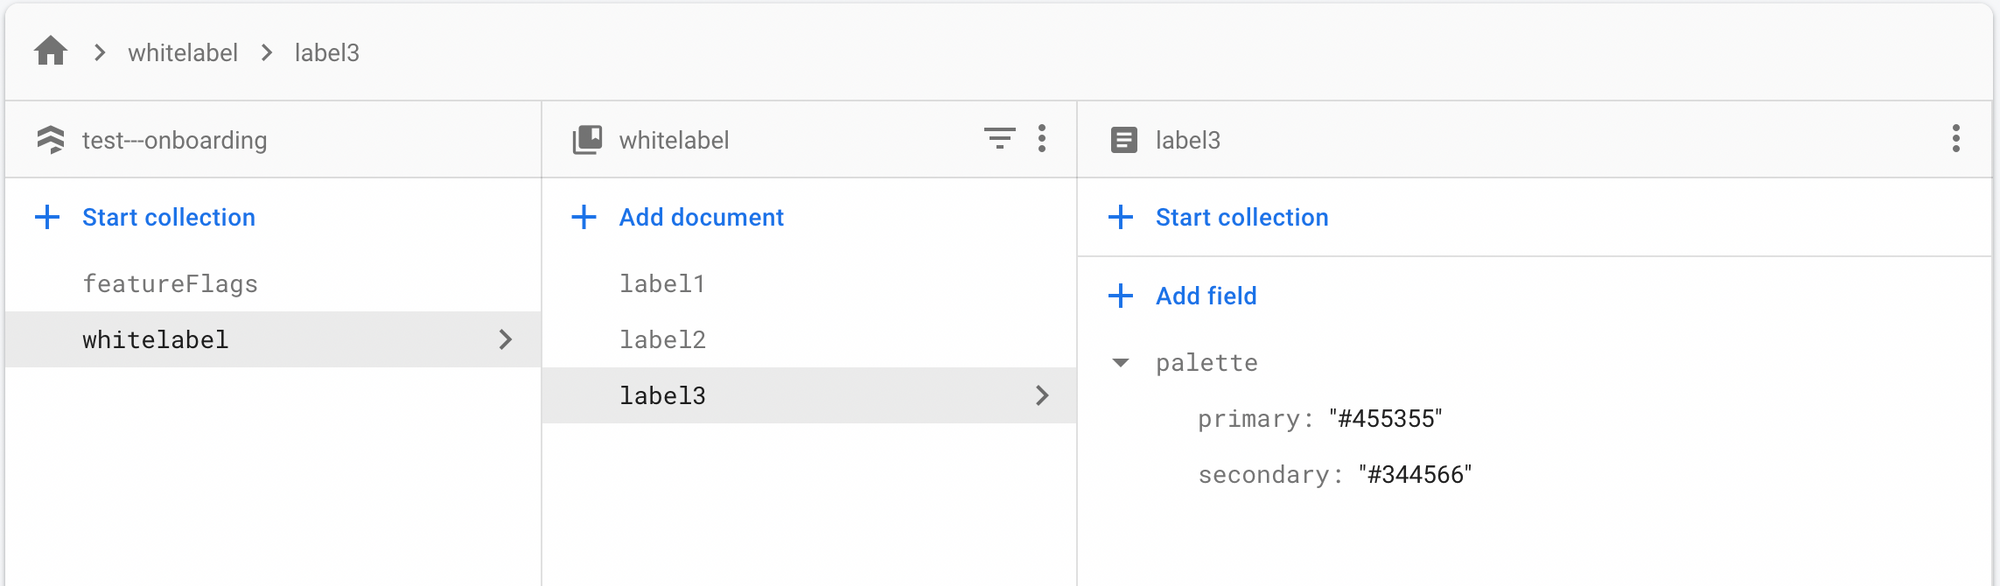
Here is a script that updates the sample table. You can adapt it your structure:
const { initializeApp, cert } = require('firebase-admin/app');const { getFirestore } = require('firebase-admin/firestore');const firebaseConfig = process.env.FIREBASE_CONFIG;const firebaseConfigParsed = JSON.parse(firebaseConfig);initializeApp({ credential: cert(firebaseConfigParsed)});console.log('Access to DB');const db = getFirestore();const docRef = db.collection('whitelabel')const newDoc = 'label3'const main = async () => { console.log('Inserting new doc with data'); const res = await docRef.doc(newDoc).set({ palette: { primary: '#455355', secondary: '#344566' } }); console.log('Finished with success', res);}main();
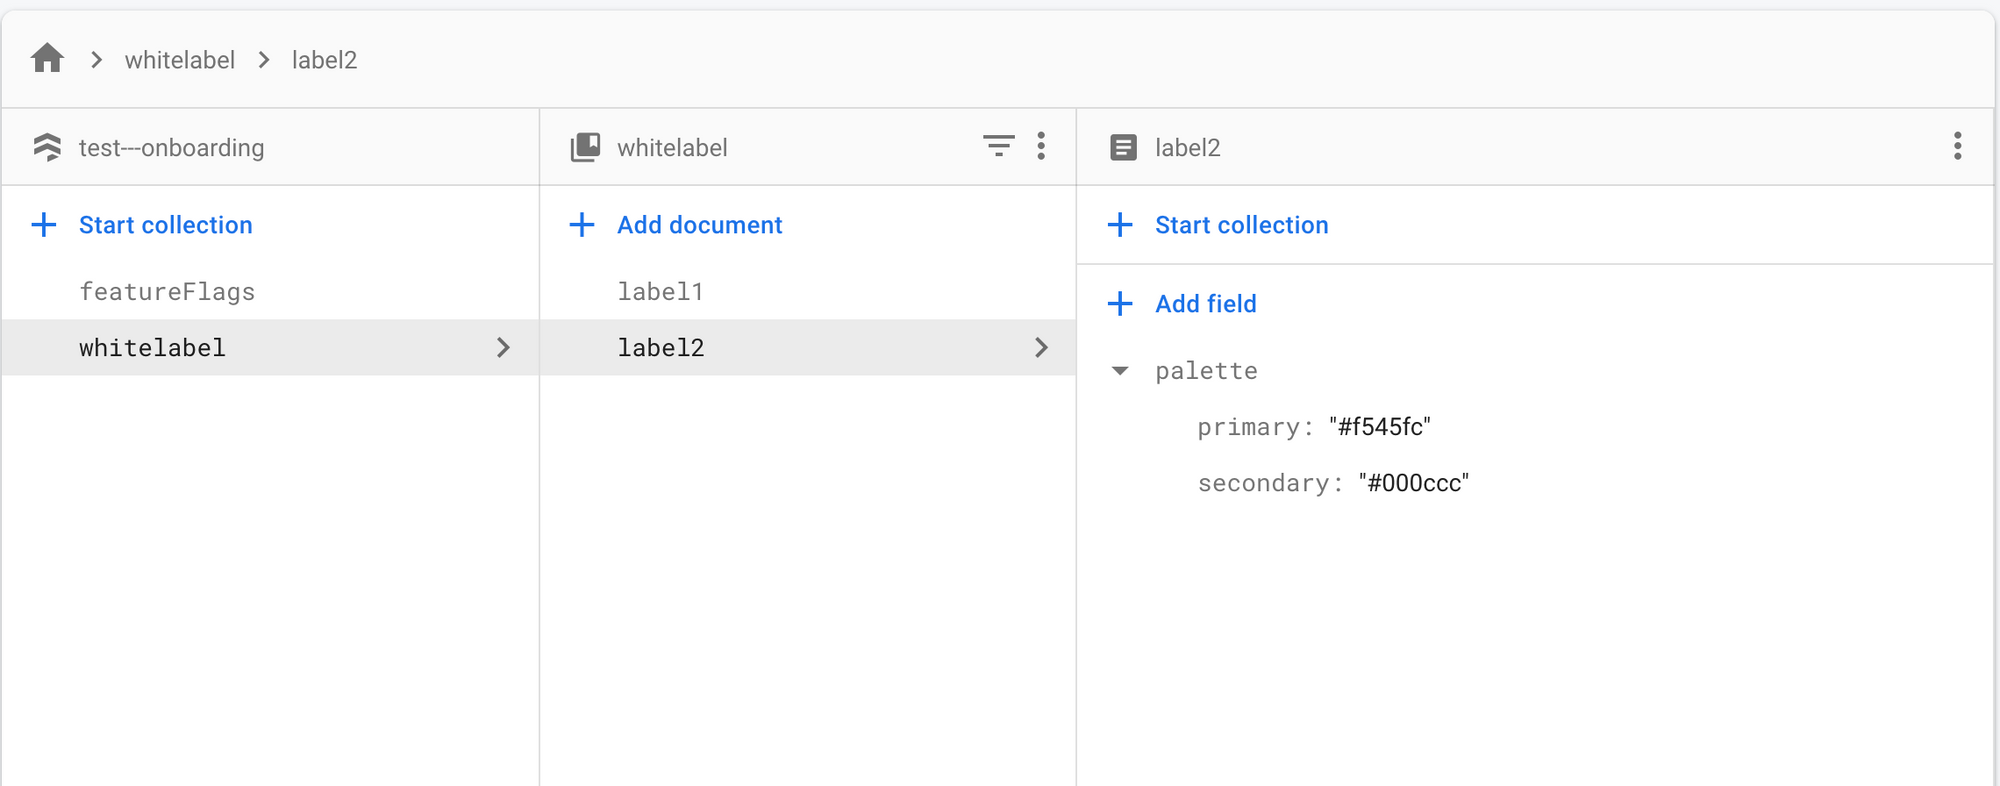
After running the script, we get the collection Whitelabel updated!
ihuuul look at this:
That's it for part 1, you can use Runops as safe way to access your Firestore database. You can share this script with others and have them re-run it inside Runops instead of learning Firebase UI.
But it can get waaay better. Check out part two to learn how to create a no-code interface based on this script in less than one minute.
Get started
See hoop.dev in action
One gateway for every database, container, and AI agent. Deploy in minutes.