

Requirements
1
Admin permissions
Deploying the stack creates resources across several services, so the deploying user needs Admin permissions. The exact resource set changes between releases, which is why we do not publish a narrower policy.
2
A dedicated AWS account
We recommend an isolated account. It keeps service quota collisions out of the picture and makes the install easier to reason about.
Deploy the stack
Pick your region and click through the CloudFormation console:us-east-1
N. Virginia
us-east-2
Ohio
us-west-1
N. California
us-west-2
Oregon
eu-west-1
Ireland
eu-west-2
London
eu-central-1
Frankfurt
ap-southeast-2
Sydney
Issue the certificate
- Open the ACM console in your region.
- Click Request a certificate.
- Click Next to request a public certificate.
- Choose your domain and a validation method, then click Request.


AwsCertificateArn parameter when you deploy.
Point DNS at it
- Wait for every item under Stacks to read
CREATE_COMPLETE, then click the stack.
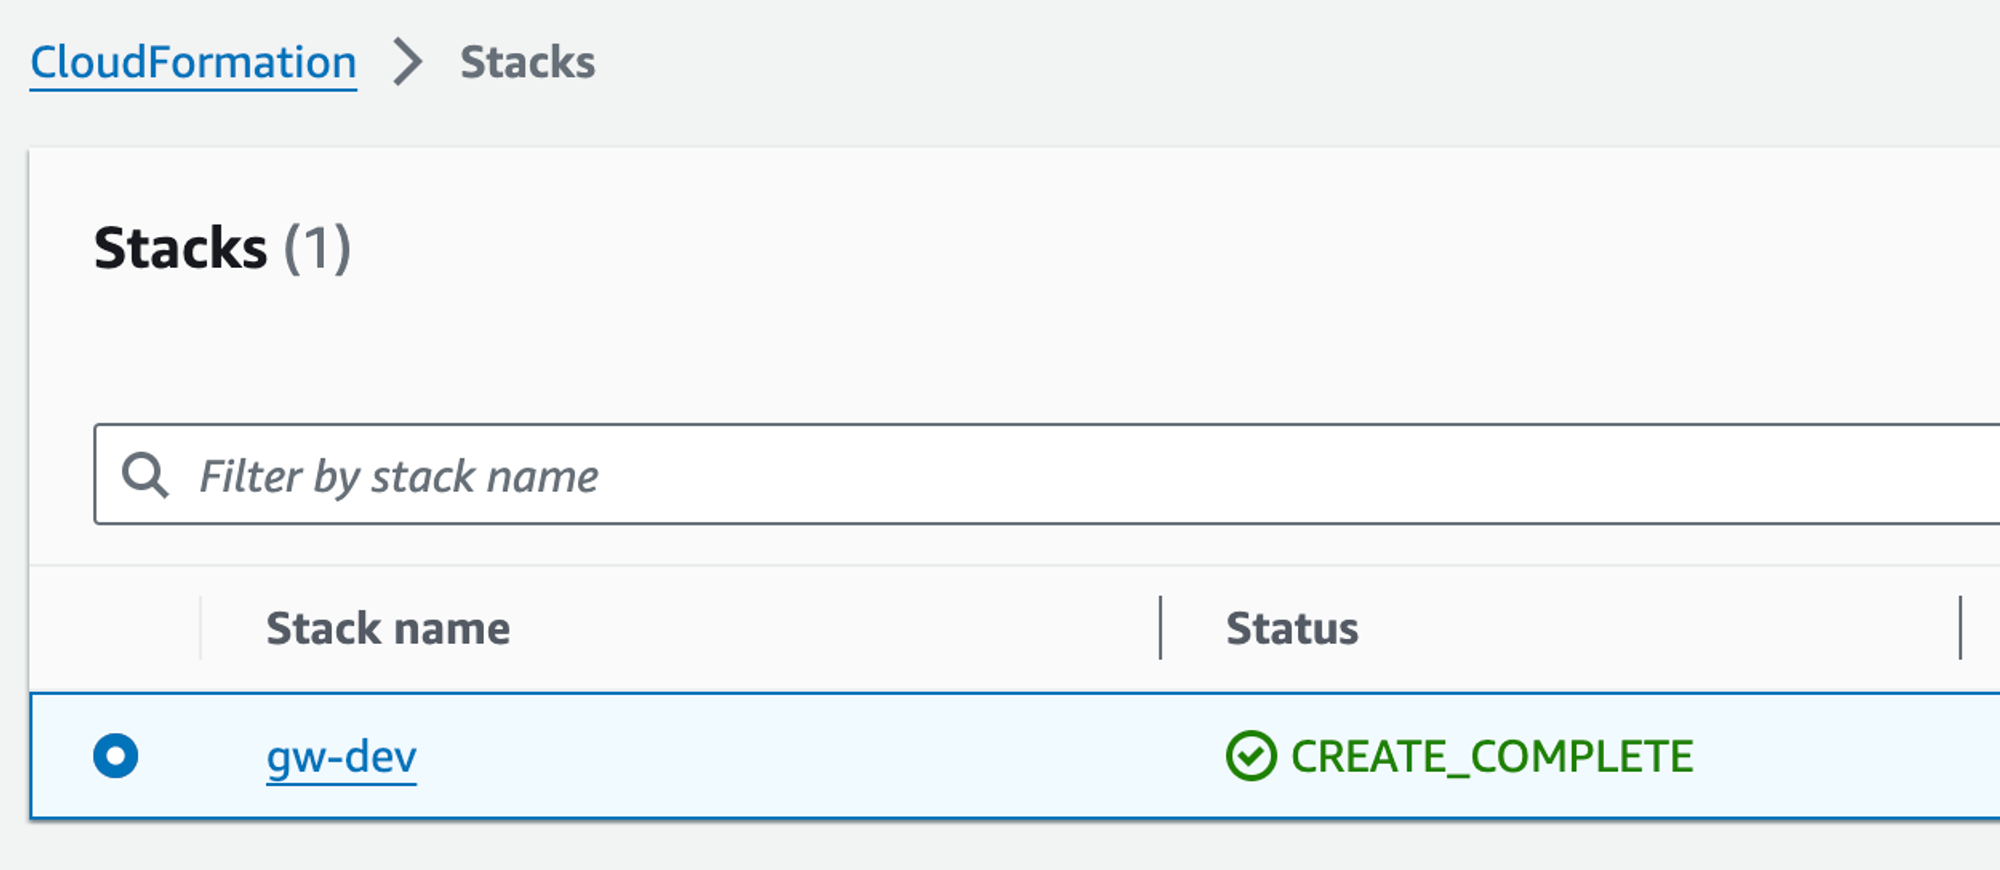
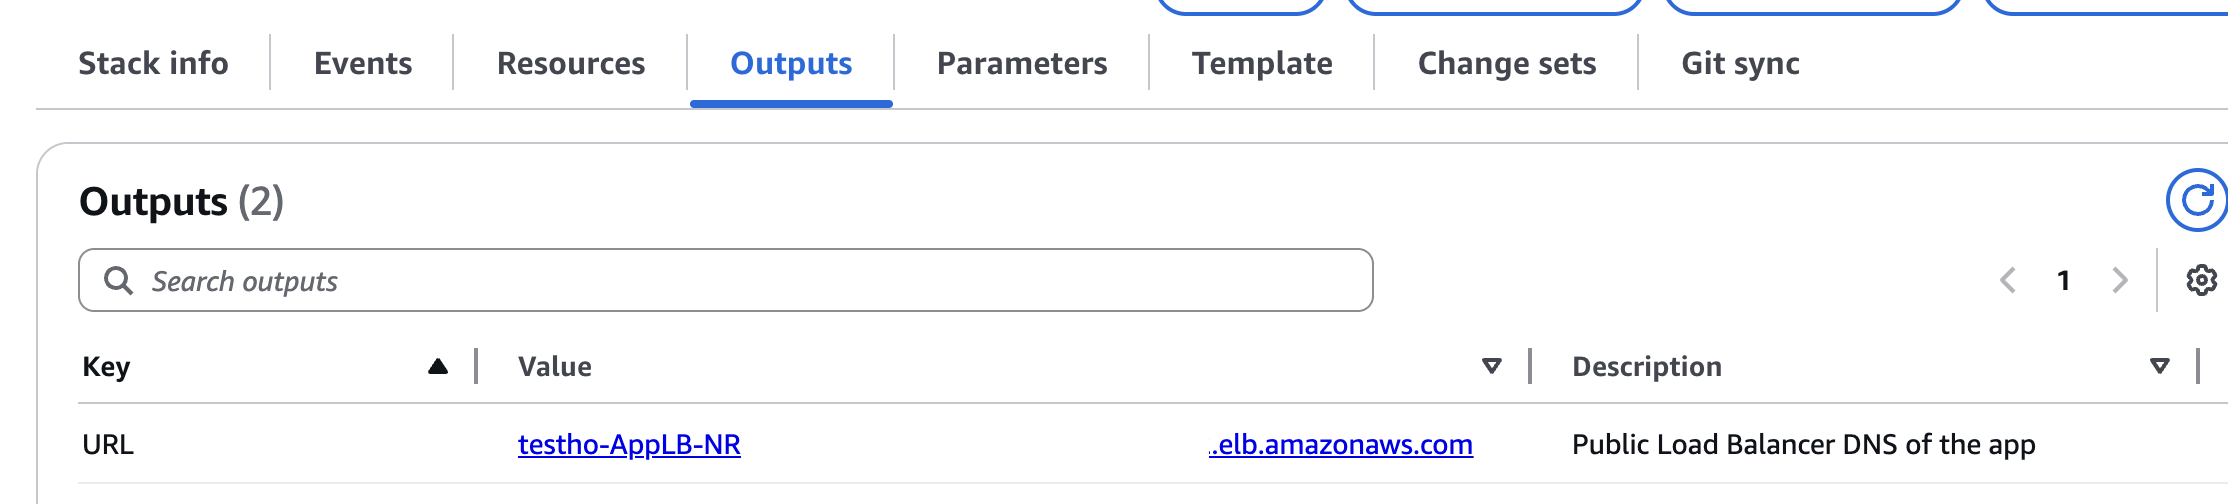
- Open the Outputs tab and copy the load balancer address. Create a CNAME record pointing the domain on your certificate at that address.
Sign in
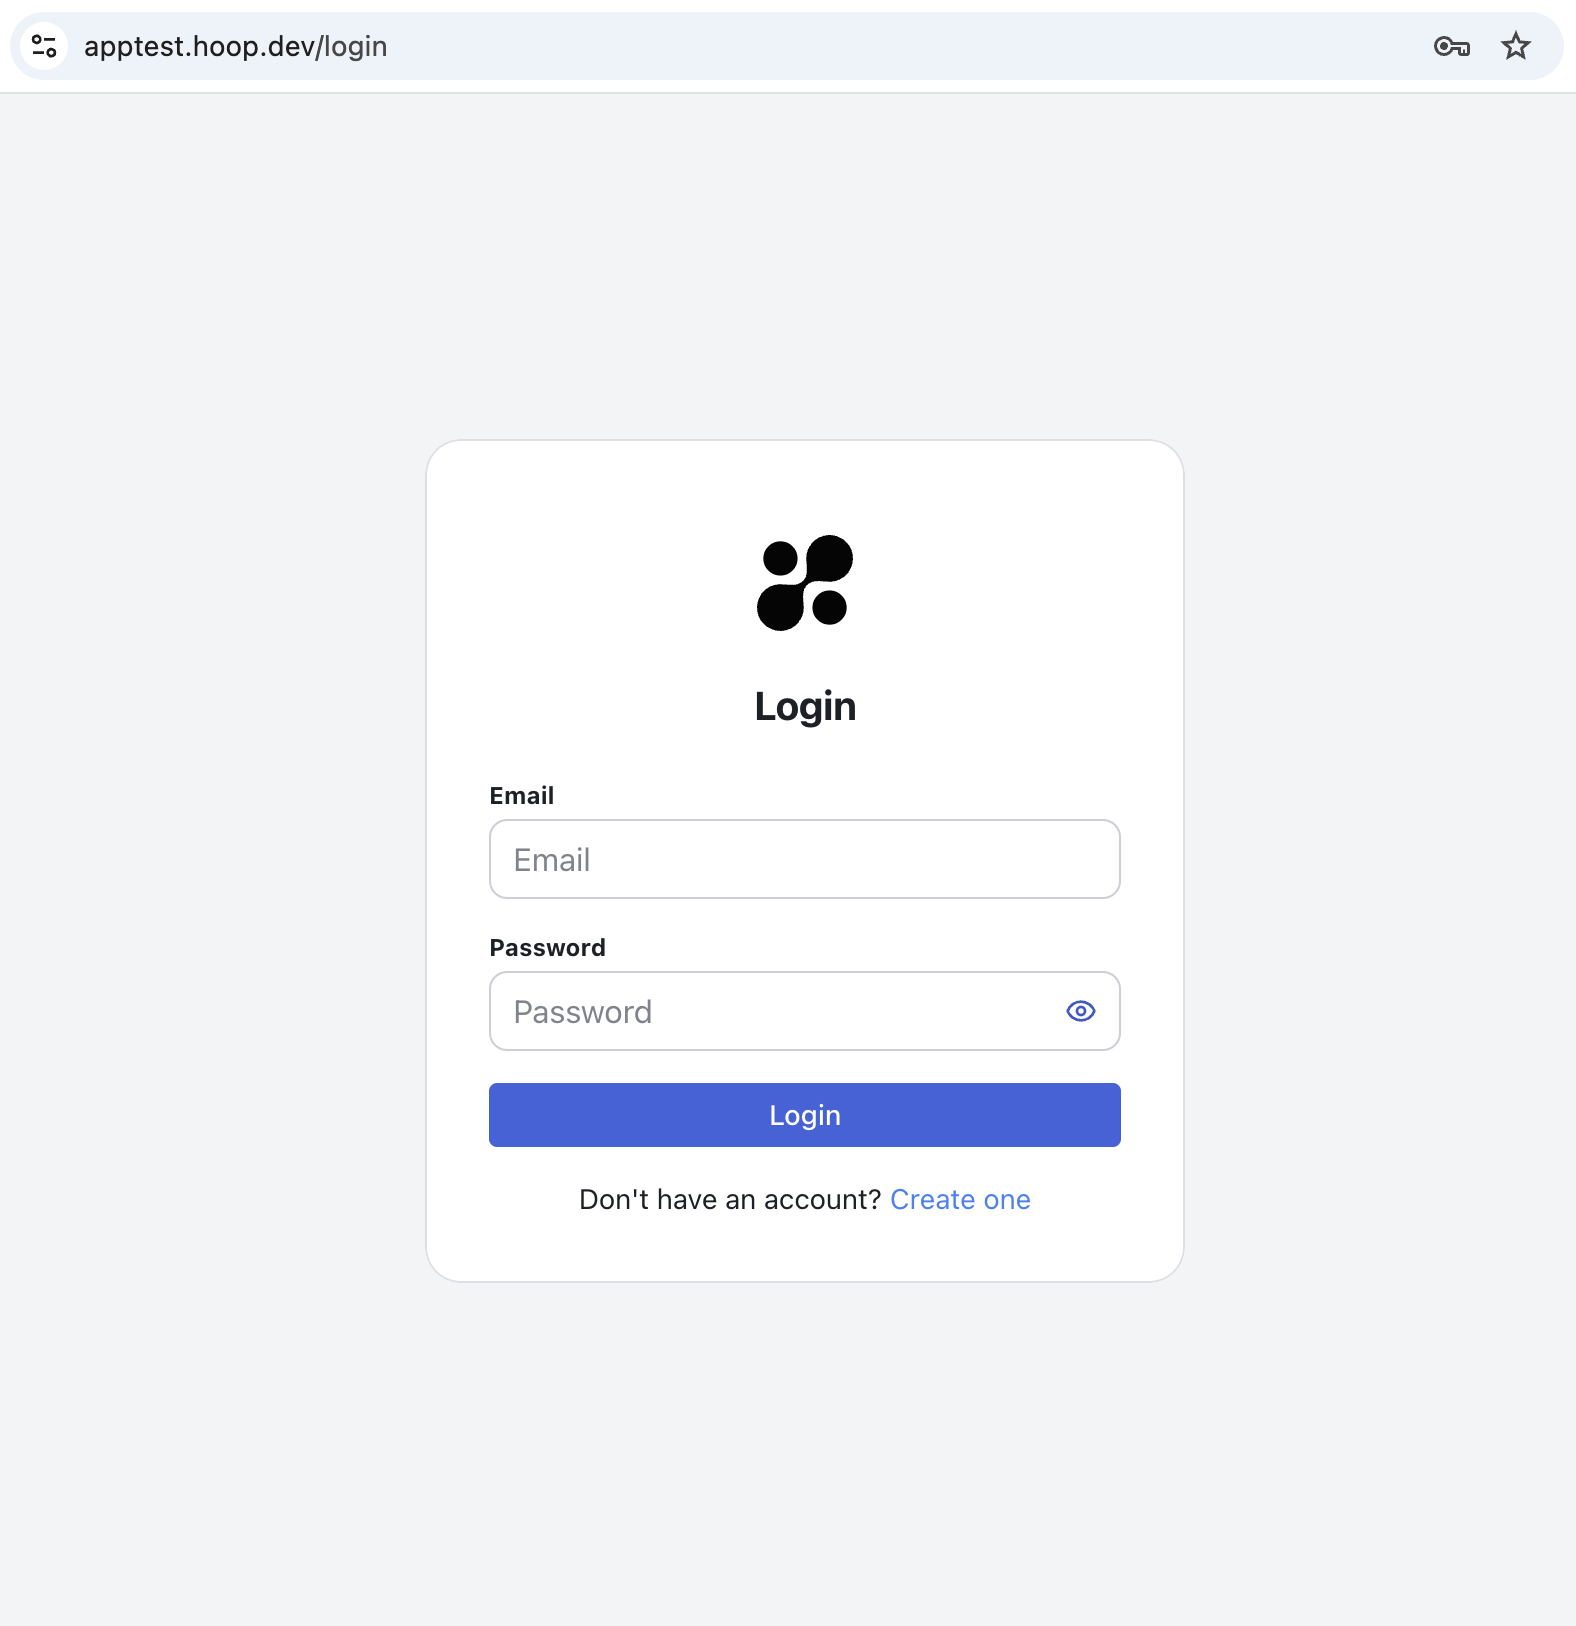
Visit the public DNS you set in theAppPublicDNS parameter — https://yourdomain.tld.
Click Create one to create the first user. Authentication is local by default: the Control Plane manages users and passwords itself, so there is nothing to configure before you can log in.
What the stack creates
- A Virtual Private Cloud (VPC)
- Two public subnets
- Two private subnets, with NAT gateways
- Two isolated subnets
- An RDS Postgres database
- An Auto Scaling group with EC2 instances
- Secrets Manager secrets for the Postgres password and access credentials
- An Application Load Balancer
- Security groups restricting access to the infrastructure — only 443 and 8443 reach the load balancer, and nothing reaches RDS directly
Updating
Keep the installation in sync with the releases you want. Read the release notes first so you know what is changing.1
Start the update
CloudFormation → select the installed stack → Update.
2
Replace the template
Choose Replace Existing Template and enter the URL for your region:
- us-east-1 https://hoopdev-platform-cf-us-east-1.s3.us-east-1.amazonaws.com/latest/hoopdev-platform.template.yaml
- us-east-2 https://hoopdev-platform-cf-us-east-2.s3.us-east-2.amazonaws.com/latest/hoopdev-platform.template.yaml
- us-west-1 https://hoopdev-platform-cf-us-west-1.s3.us-west-1.amazonaws.com/latest/hoopdev-platform.template.yaml
- us-west-2 https://hoopdev-platform-cf-us-west-2.s3.us-west-2.amazonaws.com/latest/hoopdev-platform.template.yaml
- eu-west-1 https://hoopdev-platform-cf-eu-west-1.s3.eu-west-1.amazonaws.com/latest/hoopdev-platform.template.yaml
- eu-west-2 https://hoopdev-platform-cf-eu-west-2.s3.eu-west-2.amazonaws.com/latest/hoopdev-platform.template.yaml
- eu-central-1 https://hoopdev-platform-cf-eu-central-1.s3.eu-central-1.amazonaws.com/latest/hoopdev-platform.template.yaml
- ap-southeast-2 https://hoopdev-platform-cf-ap-southeast-2.s3.ap-southeast-2.amazonaws.com/latest/hoopdev-platform.template.yaml
3
Set failure handling
Set Stack failure options to Roll back all stack resources, then click Next. With it set to preserve, CloudFormation refuses to deploy certain kinds of change.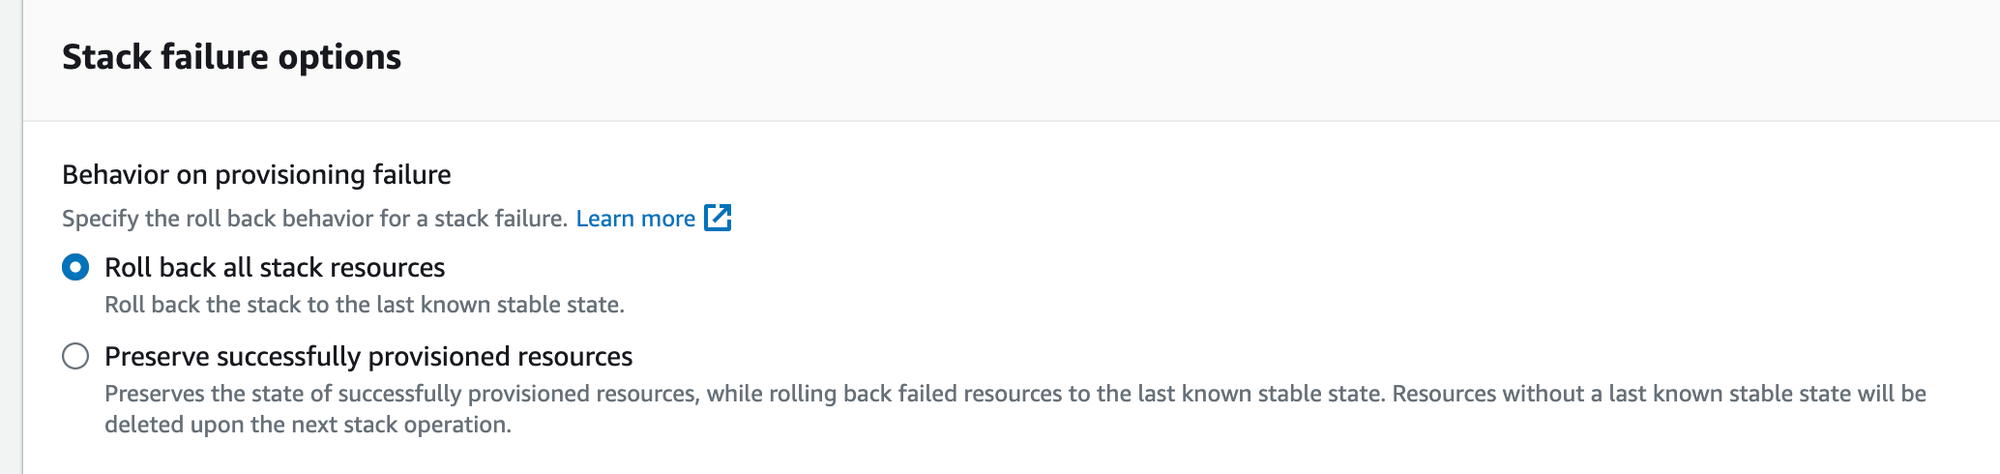
4
Apply it
Check both permission boxes at the bottom and click Update Stack. You do not need to wait for the change set to load.Some updates finish in minutes and some take hours. If the update fails, screenshot the failure under Events in the stack — and if a nested stack is what failed, screenshot the Events of that nested stack too.
Uninstalling
CloudFormation → select the installed stack → Delete.Next
Connect a Sidecar
Issue a token, point a Sidecar at the server host, and confirm it picked up its configuration.